
 Once and a while, whenever I build a diorama for my figure photos, I like to post some behind-the-scenes photos as people seem to enjoy looking at them. Usually I’ll just post a pic or two, but for more involved builds I try to document my process a bit more so I can share it around. Photographing in-progress work not only helps me, as it gives me a reference incase I forget how I did something, but it also hopefully helps others and maybe provides a bit of inspiration for you all to try it yourself!
Today we’re going to look at a diorama project that I’ve been slaving away at for the past few weeks.

Some of you may have noticed that haven’t been too active in the weeks leading up to the holidays. Over the past two weeks or so my life has been consumed entirely by a diorama project that I’ve always kind of wanted to do but never got around to. I always love doing Christmas-themed photos around the holidays, and this year I wanted to do a sort of ‘city’ inspired theme.
I always love taking my figures outdoors to photograph them, most of which is in NYC (I guess that’s why I named my site nyotaku ^^;). I love trying to play on scale to make figures look like they belong in their environment, hopefully at this point I’ve gotten somewhat decent at it. But I always feel like there’s only so far you can push it, and certain shots simply can’t be achieved using just clever camera angles & locations.
To get perfectly scaled shots, you either need to shrink the city or enlarge the figures (Walk around in a nendoroid costume, anyone?). I chose the less embarrassing option, and decided to make my own scale city scene that I could take photos with.
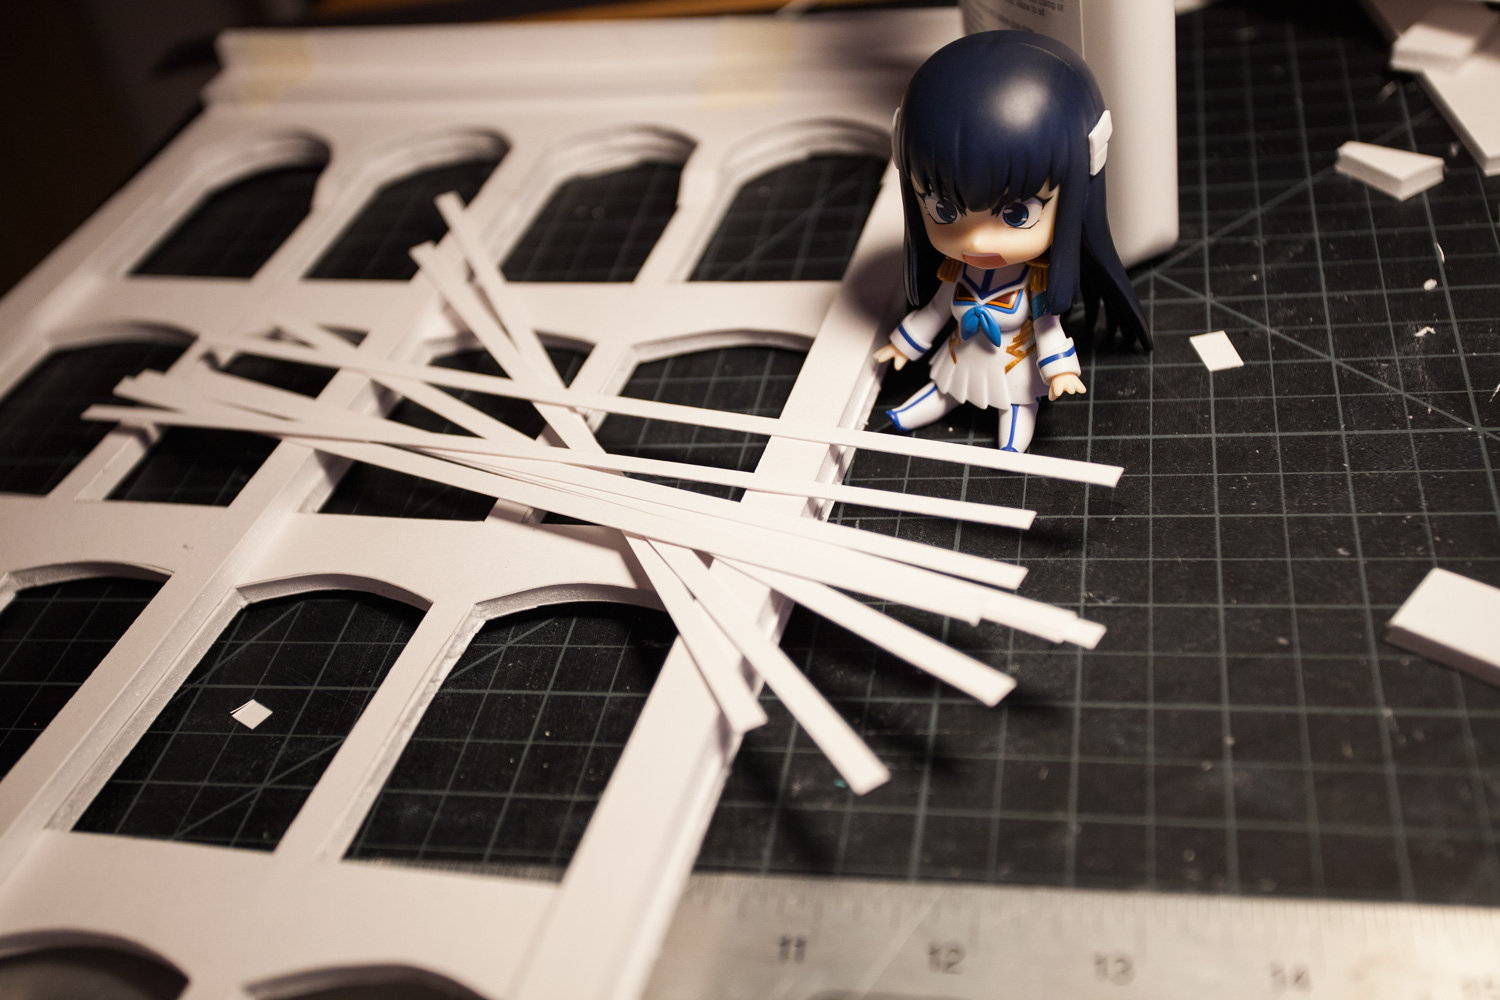
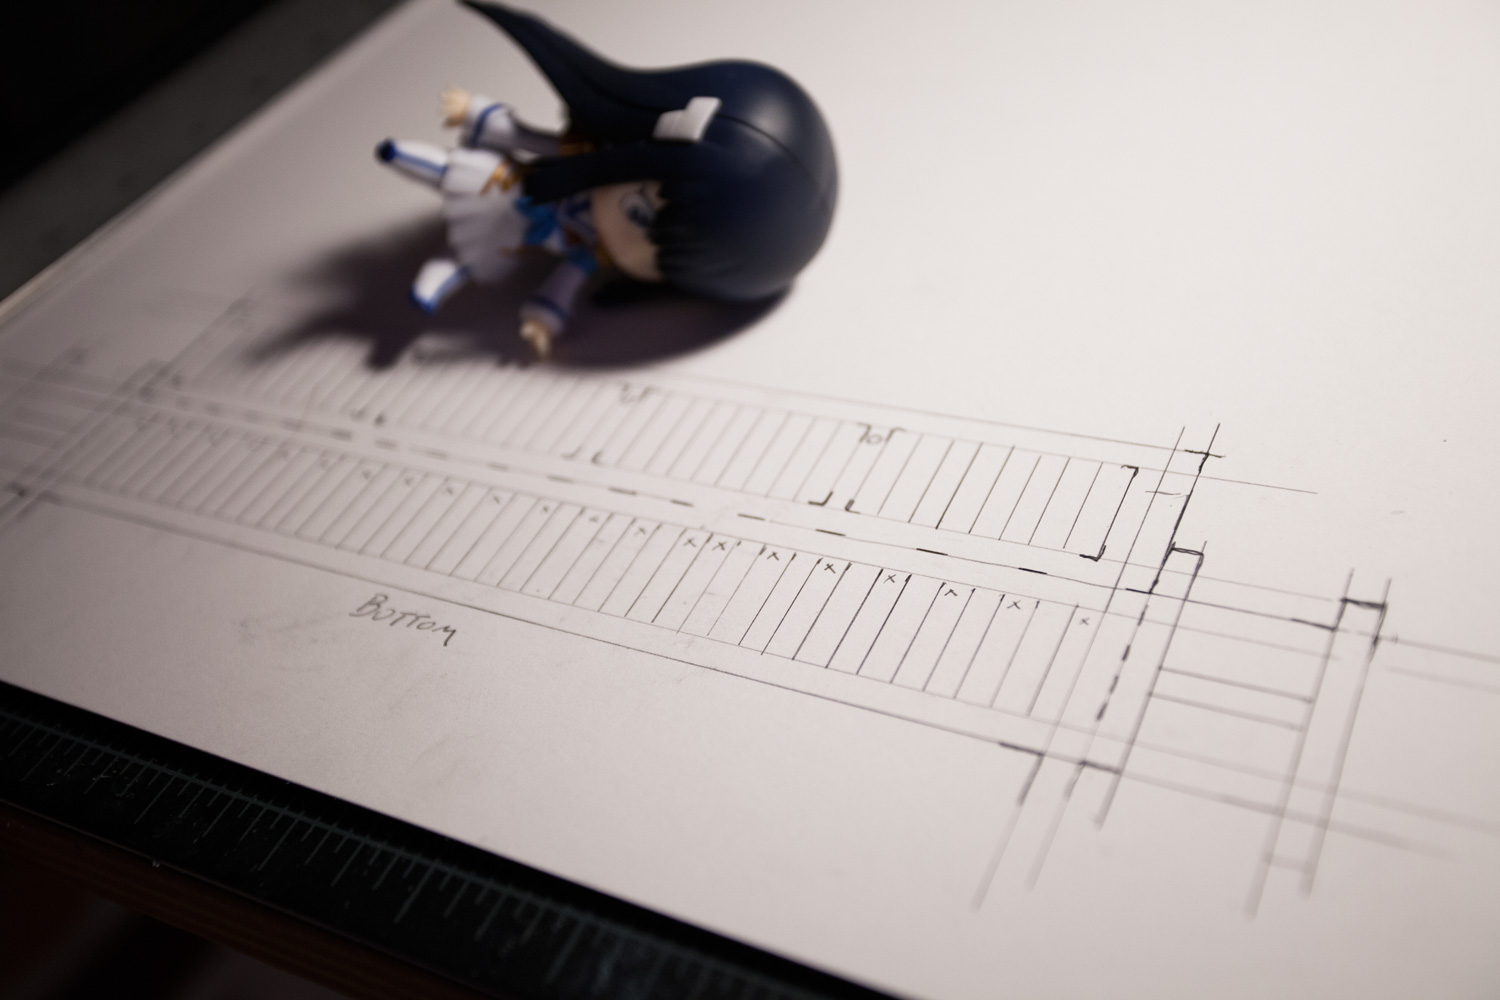
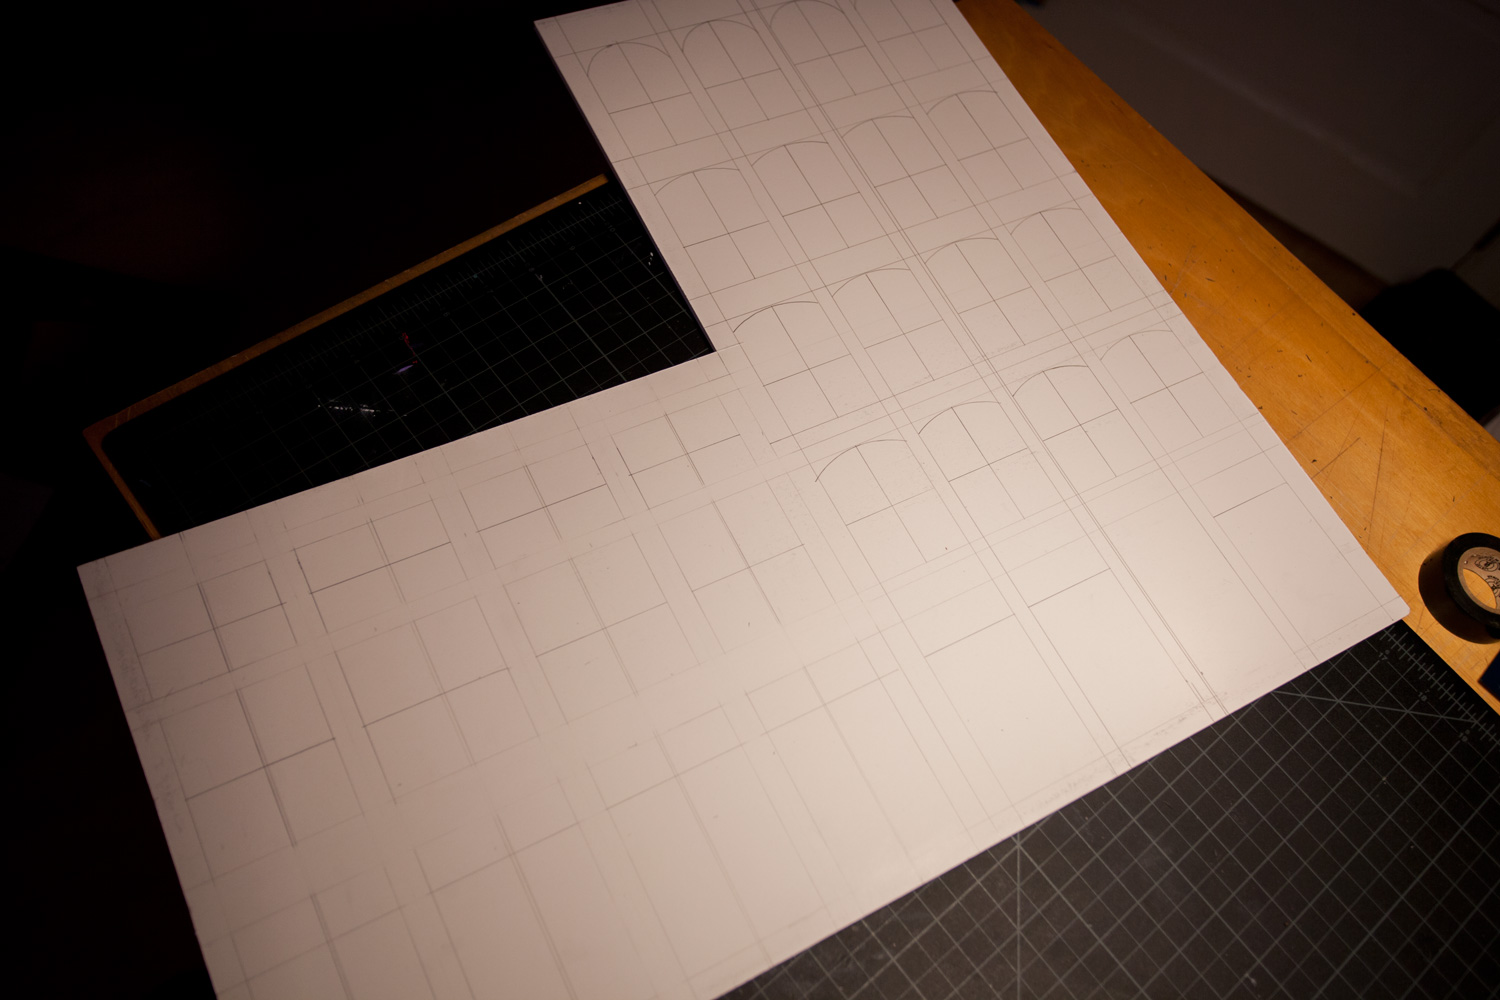 Let’s get started! I’ll be honest in saying that not too much planning goes into what I make (my art professors would kill me if I said that) but I always like to get right into it and get my hands dirty. These two buildings are this shape because this was the shape of a scrap piece of foamcore I had lying around. That’s not to say that I don’t at least have some sort of idea of what I want to do, before cutting out anything it’s a good idea to sketch out what the windows & doors will look like. This helps to visualize the final product, and also helps you figure out the proper scale.
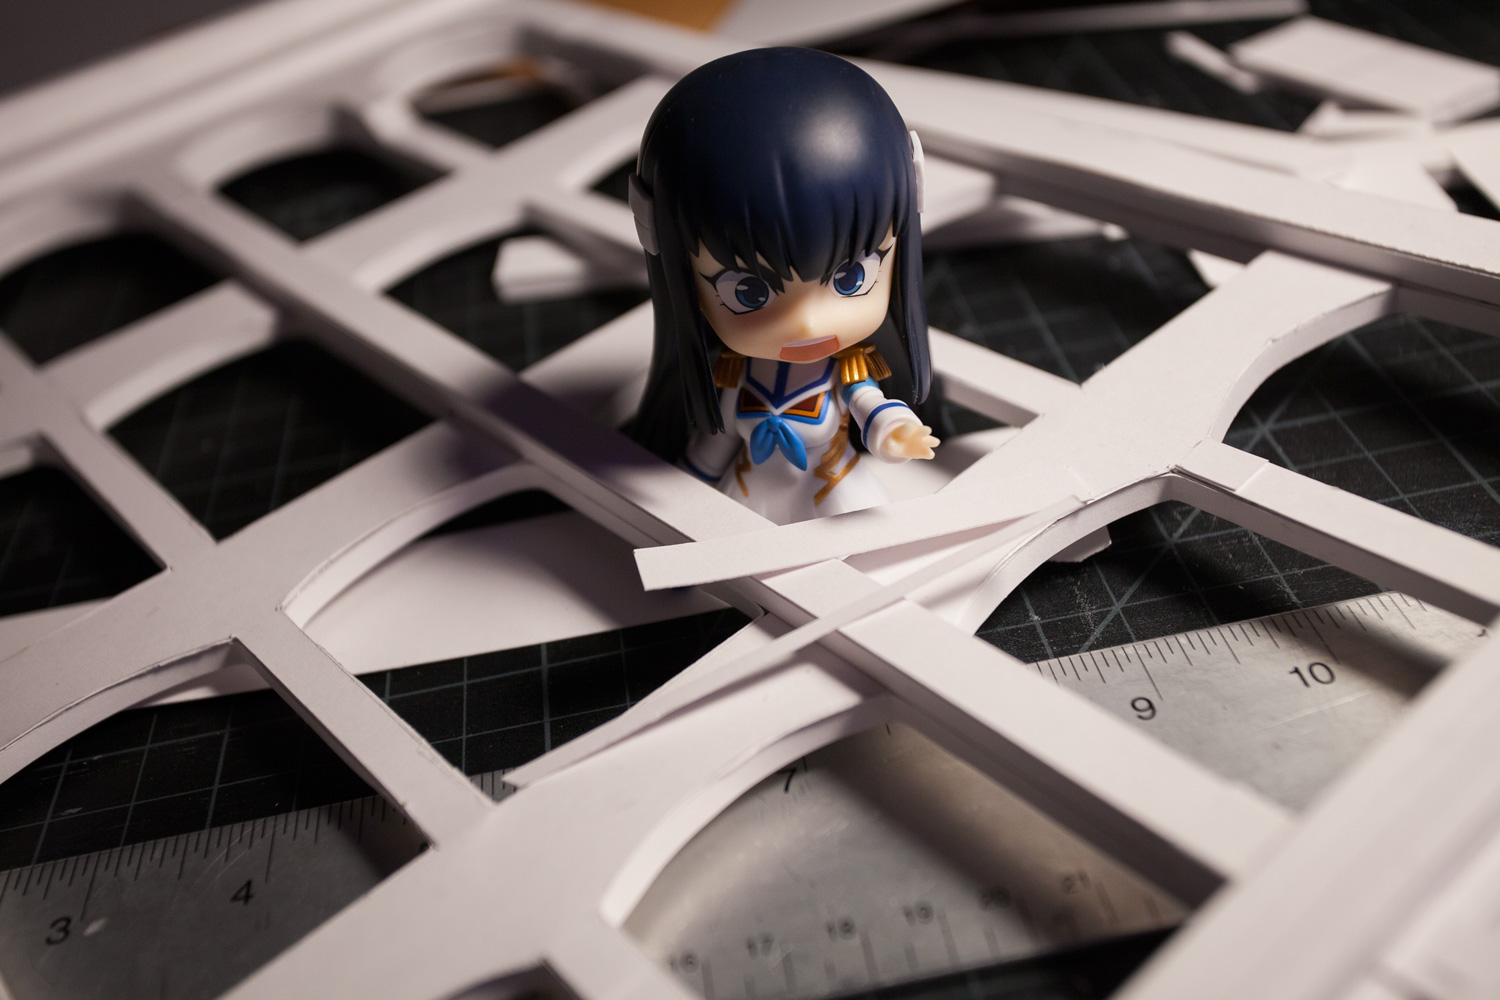
 Thought the curved windows would look pretty cool, but they ended up creating a bunch more work which drove me crazy as I got further into the project.
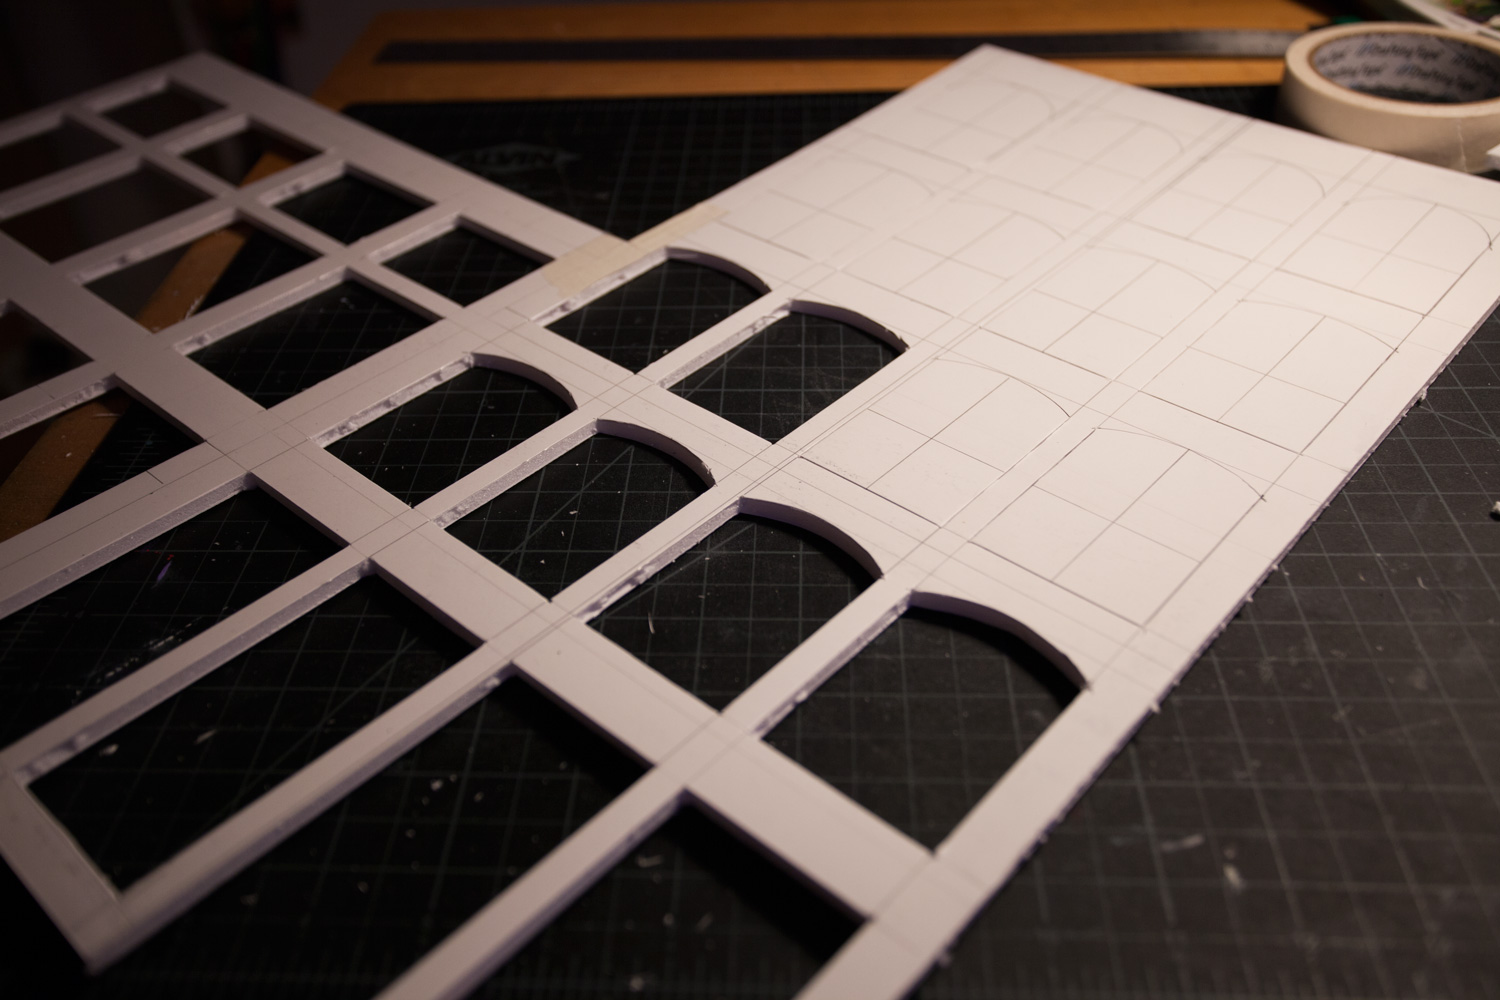
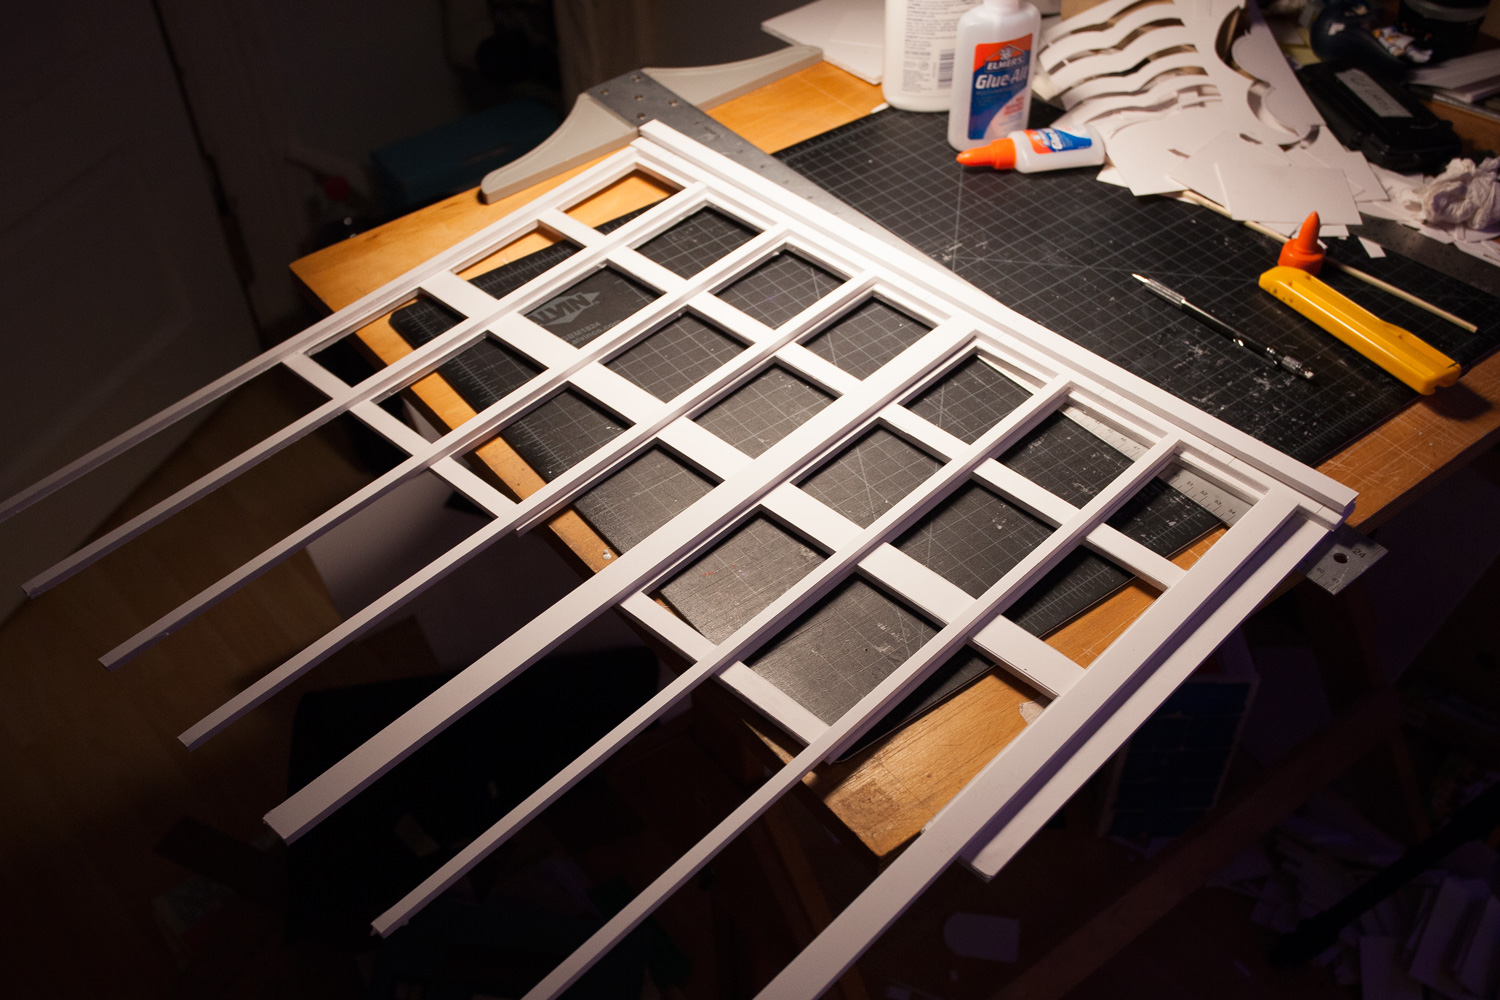
 With the windows and doors cut, It’s time to add some columns & trim to make things more realistic. For basic structural work I always use foamcore as it’s really easy to cut & work with compared to wood.
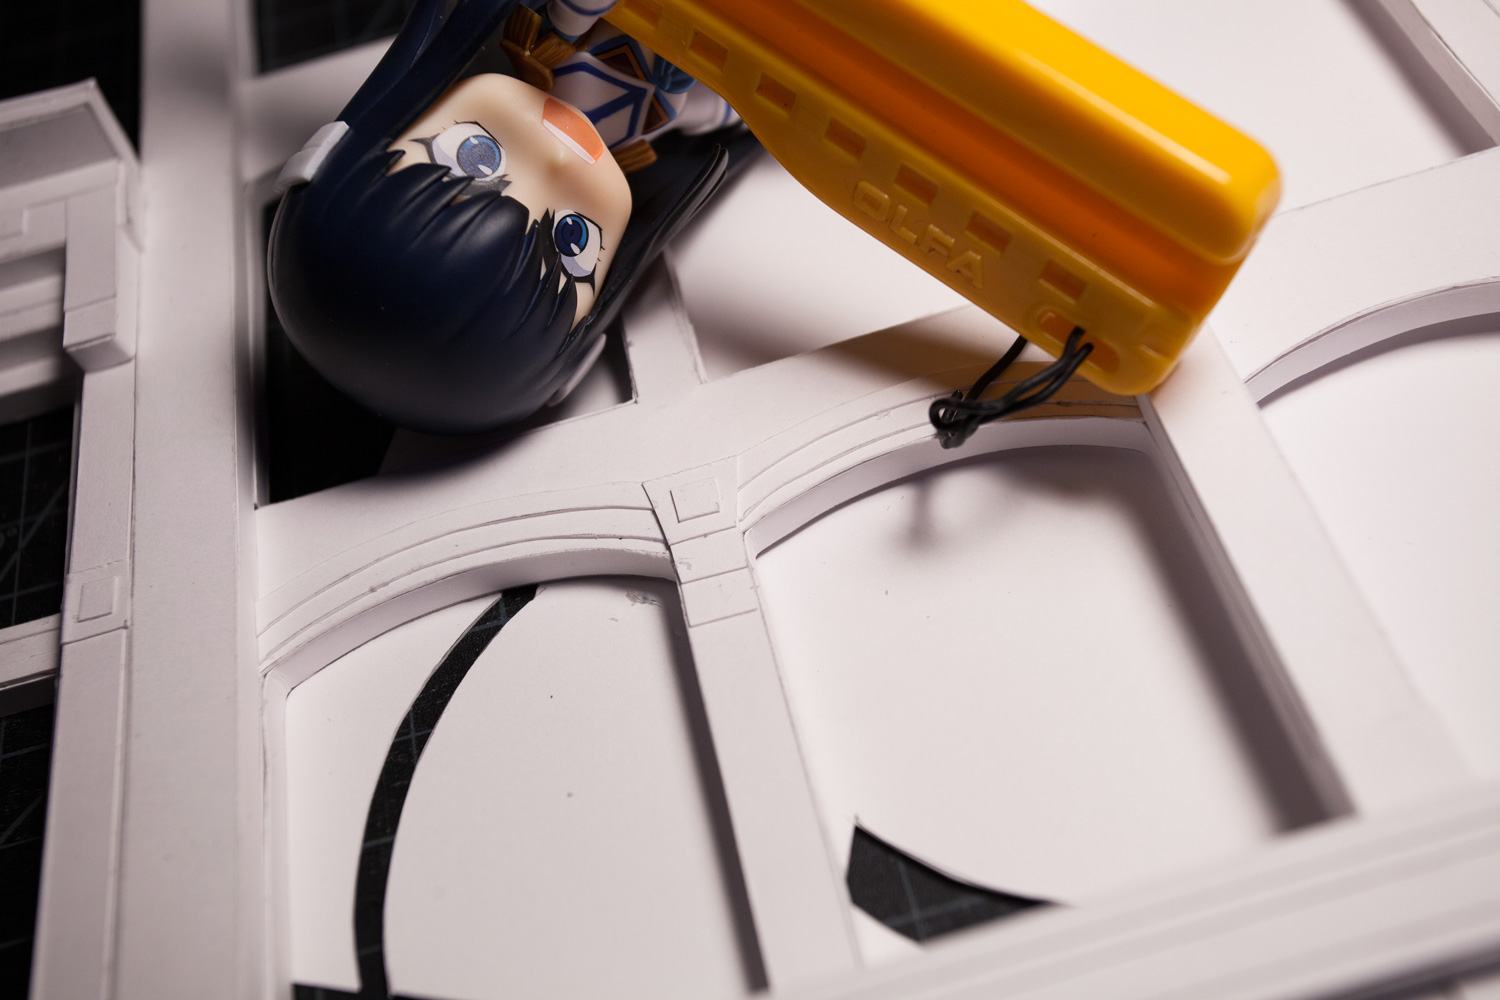
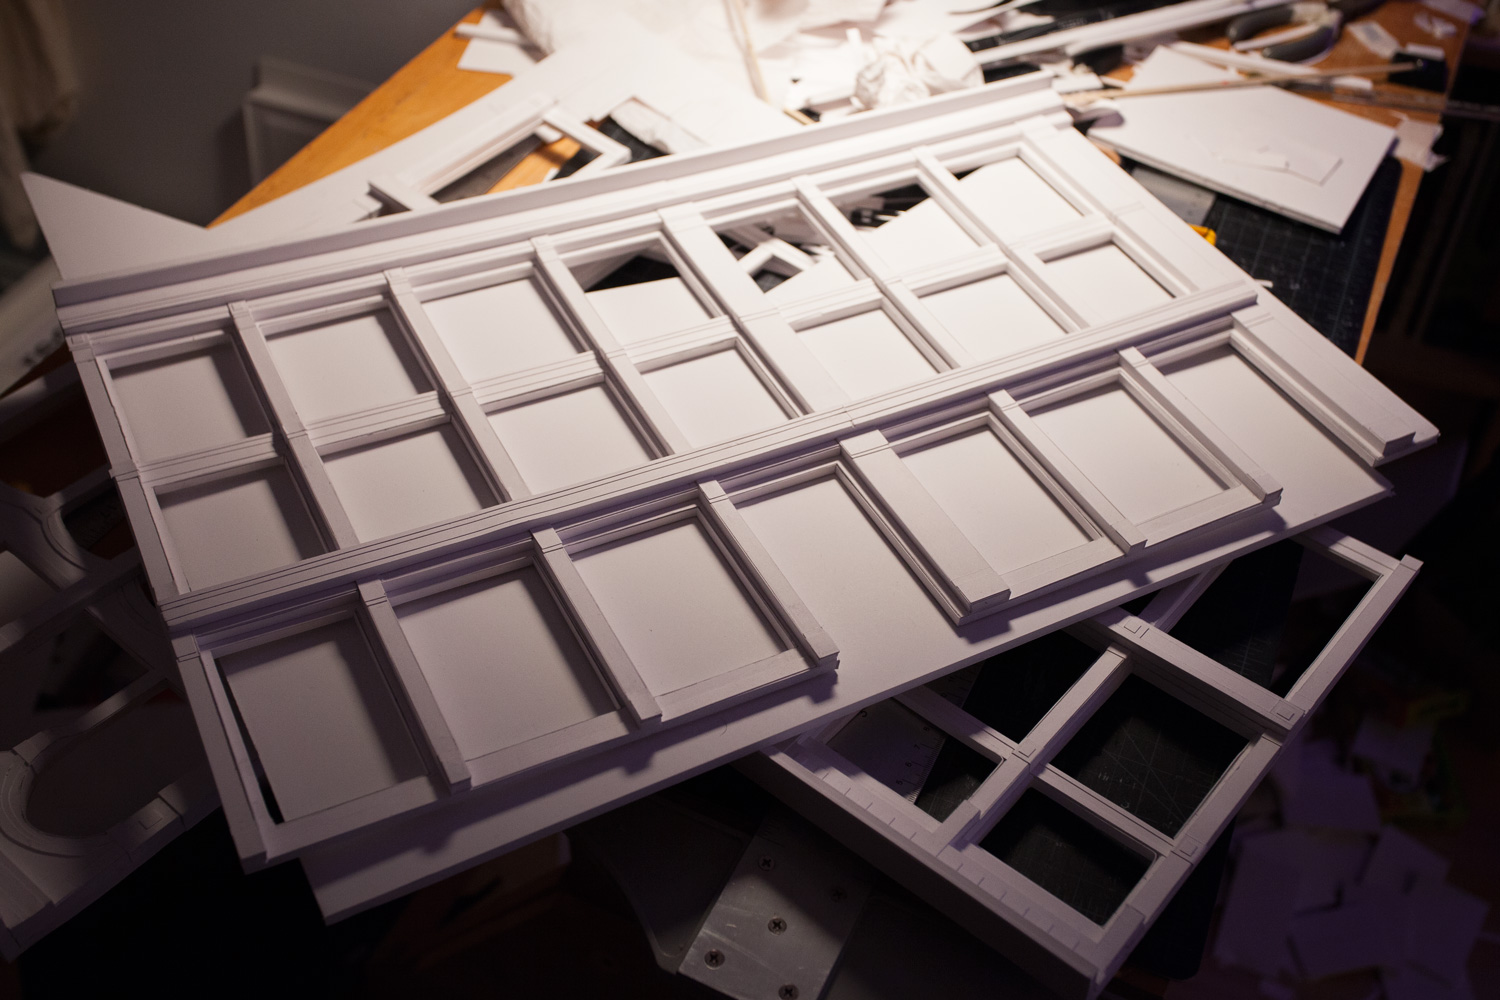
 The downside of using foamcore is that the edges aren’t smooth (it is foam, after all), plus the paint I like to use doesn’t really stick to the surface. How do I solve this? Cut out bristol paper & glue it to every surface that’s going to be visible or painted. This is definitely one of the most time-consuming parts of the build, but since this is a set I would like to use in the future, I’d rather do everything right the first time.
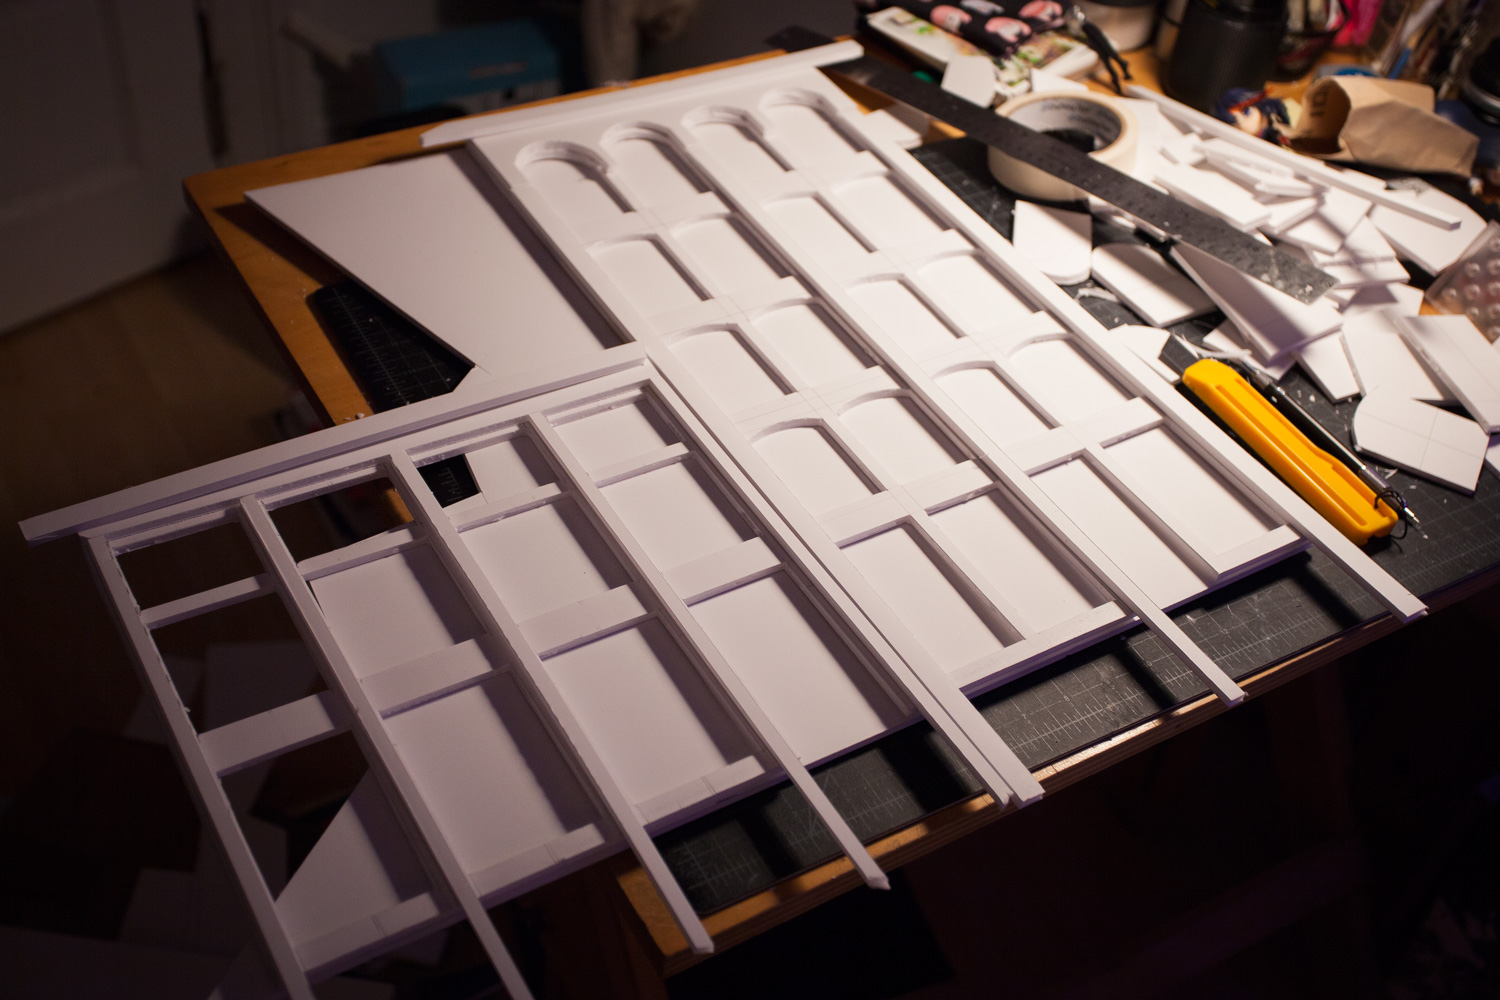
 Coating the inside of all the windows with bristol definitely took up way too much time, but hopefully it helps makes everything look more realistic.
 With all that done, time to add some more detail. Creating the trim for the curved windows was a massive headache… since each of the curves is cut by hand, each is a little different from the rest. Obviously the trim has to match somewhat, so each piece of trim had to be custom cut for each window. All trim pieces are just layered bristol paper.
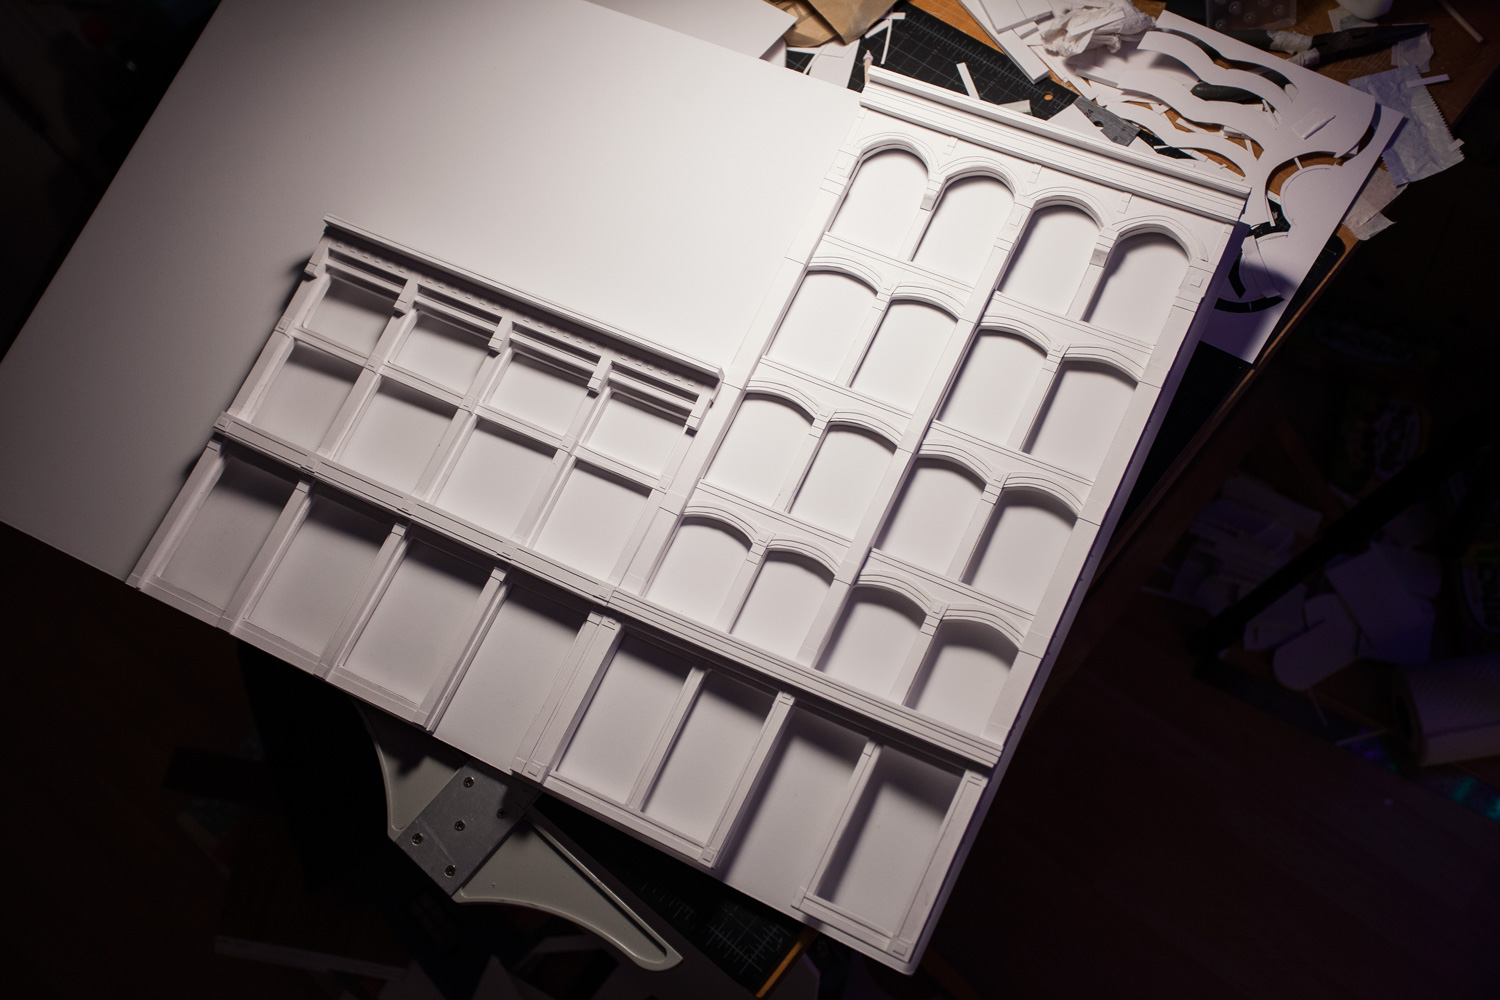 With some trim added, things are starting to look much more finished.
 Now, just repeat the process all over again for the other buildings….
 Getting there!
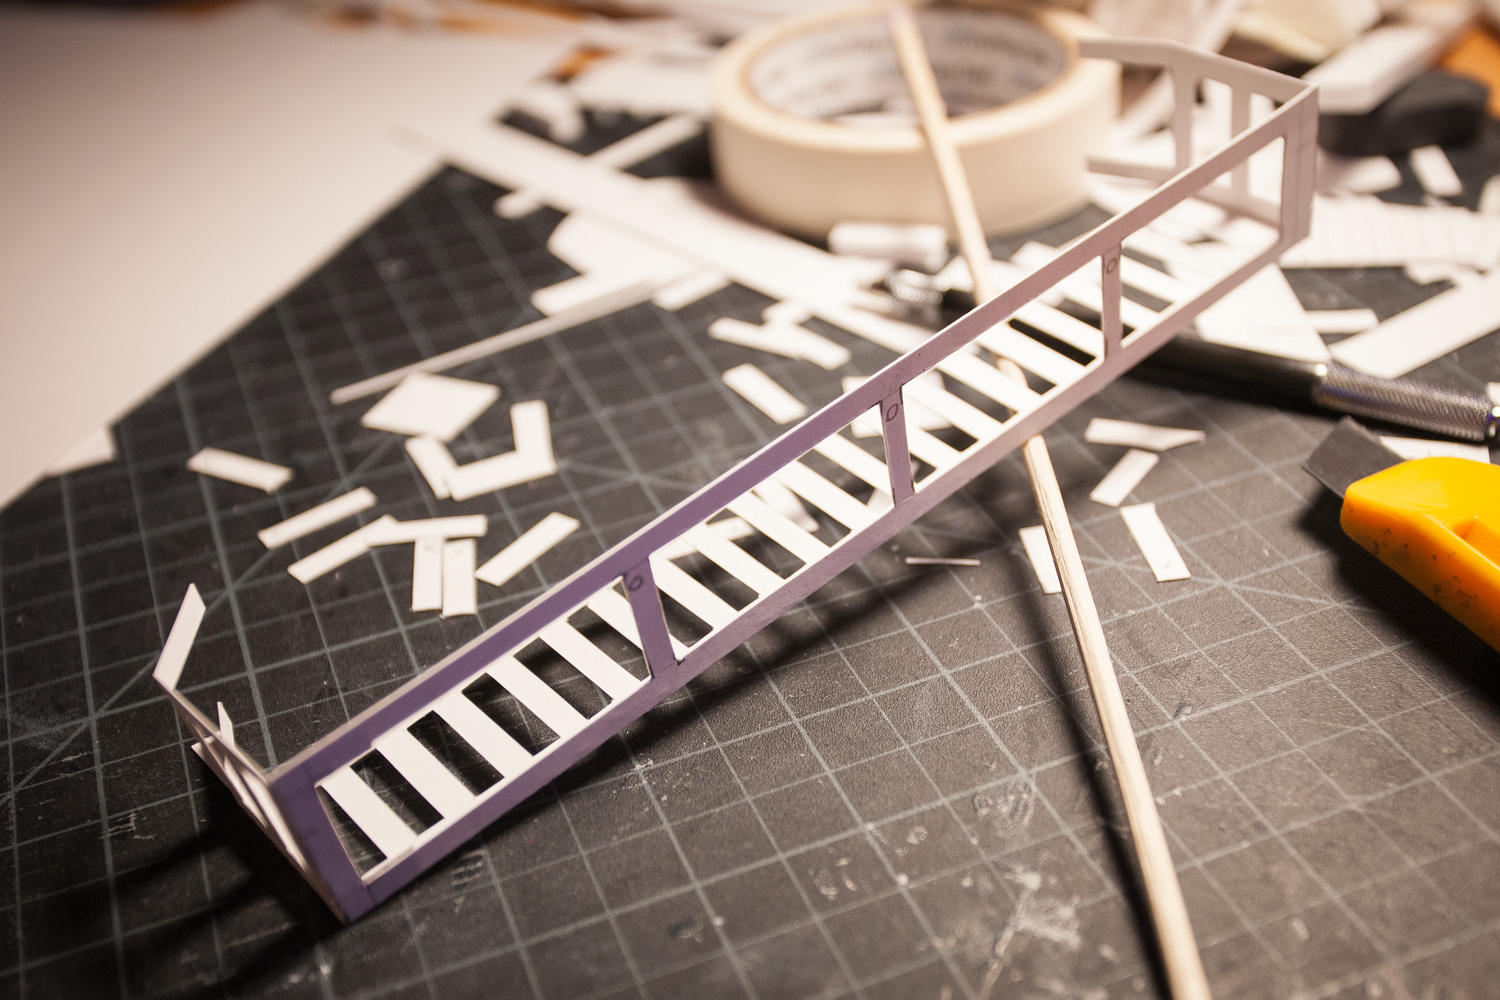
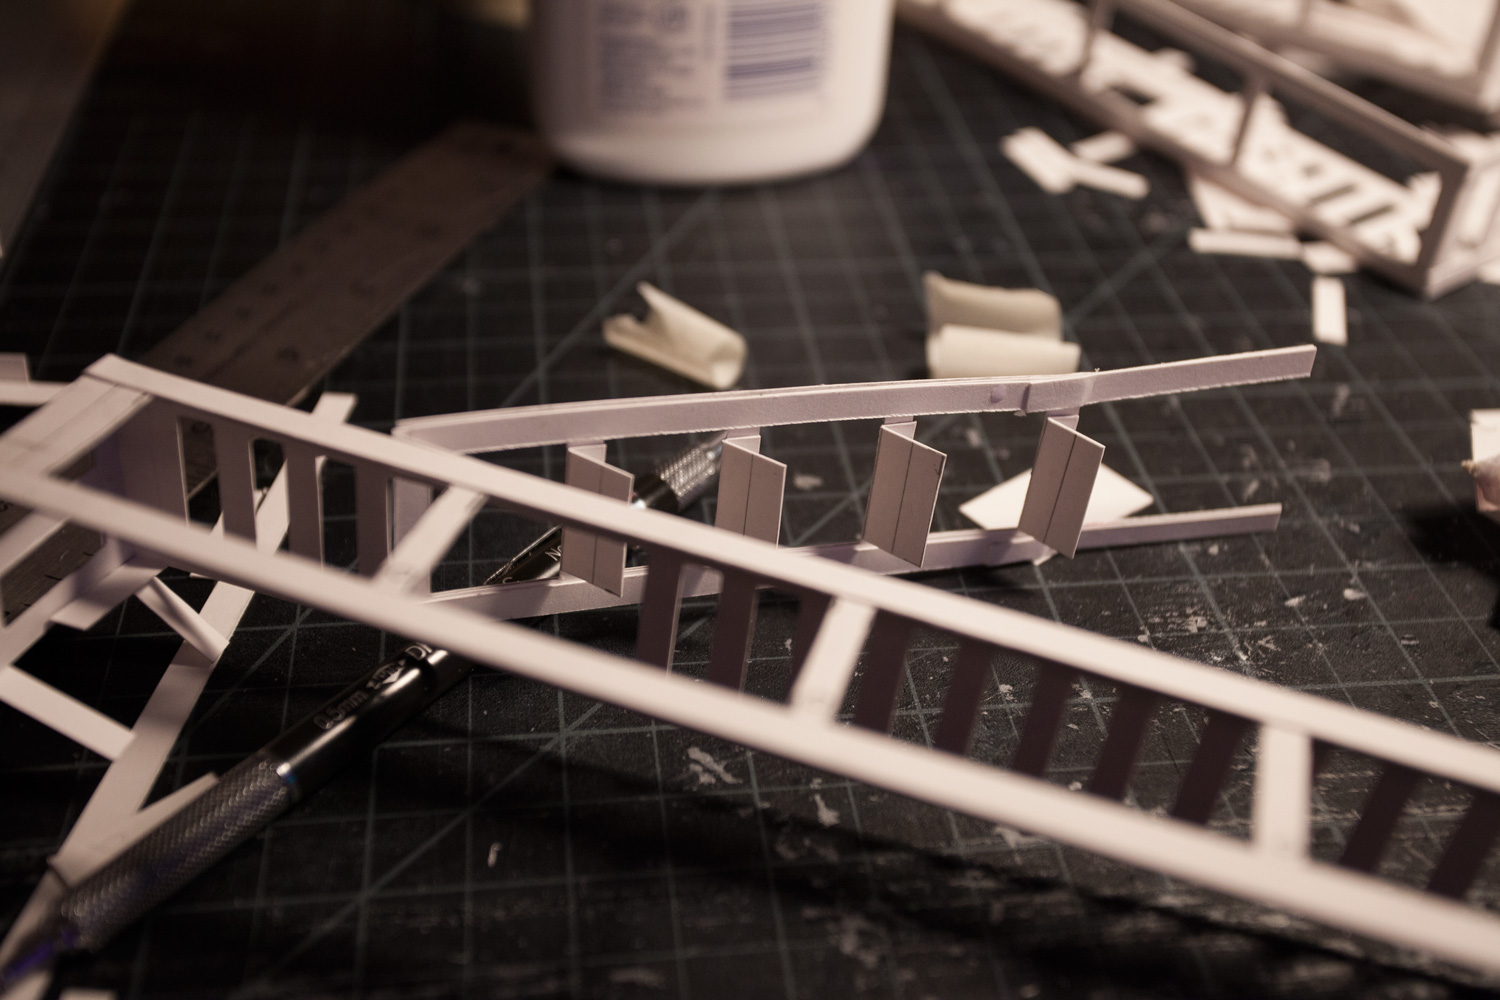
 Obviously no city building is complete without some fire escapes. This is where knowing how to create templates & how things fold comes in handy. Having the fire escapes fold rather than gluing a bunch of pieces together makes them more structurally sound, makes them look consistent, and hopefully saves a bit of time. Also had to make sure to get the tabs in the proper spot so I could attach them to the buildings later on.
 All done! Now, just to create three more…
 Since I made the buildings a similar width, I can use the same template to create the other three fire escapes which saves a bunch of time.
 Adding some ladders
 The last bit is to create some doors for the buildings, made out of foamcore & bristol.
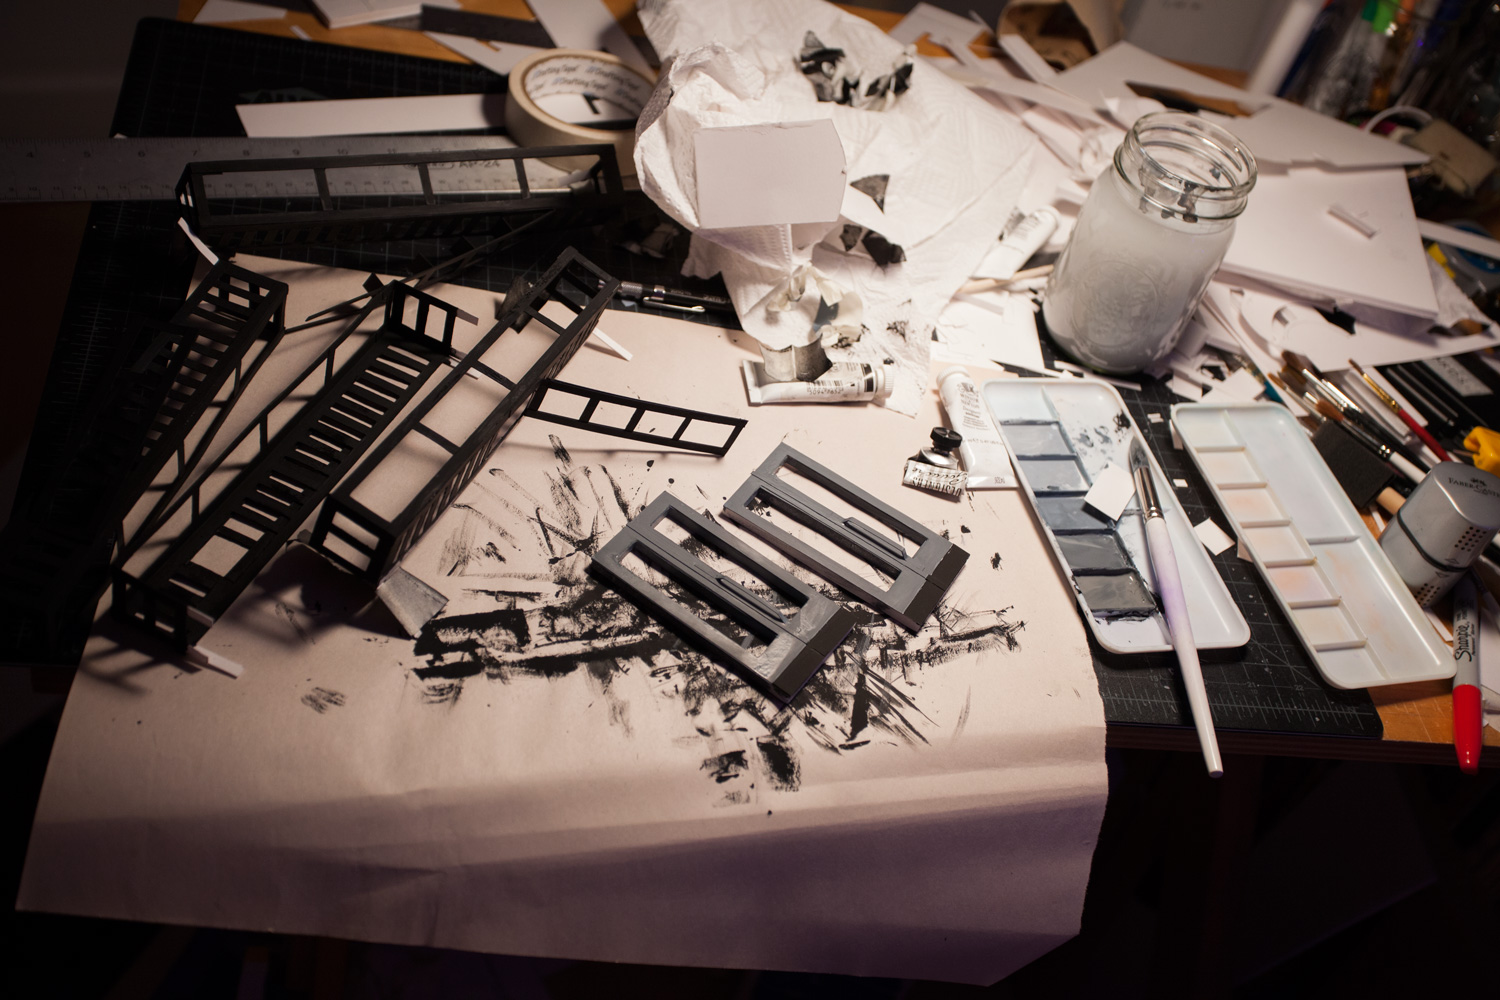 Now that all the structures are built, time to move on to painting. I almost always use designers gouache, mostly because I already have a bunch of it sitting around, but it also provides for a nice flat even finish. The fire escapes were a pain to paint; I originally tried using some spraypaint, but decided ultimately to finish them with the gouache. In the end the combination of spraypaint + gouache made for a pretty cool finish which actually kind of looked just like a metal fire escape. Sometimes you get lucky with stuff like this I guess haha.
 Moving on to painting the buildings
 Work in progress
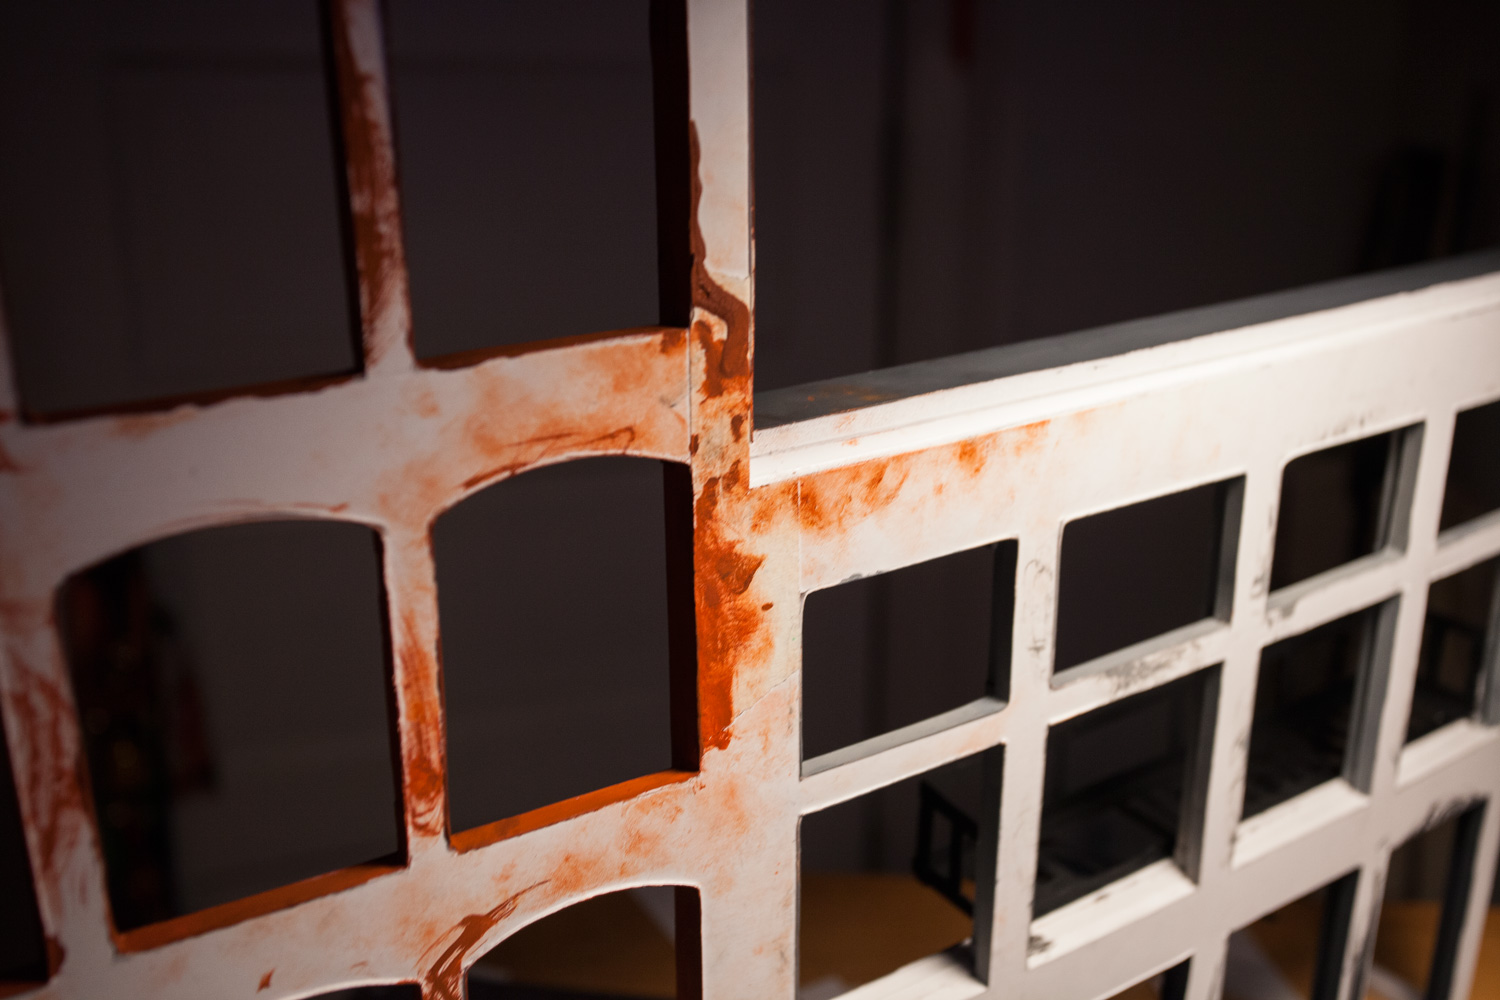 Note to self: orange paint gets everywhere.
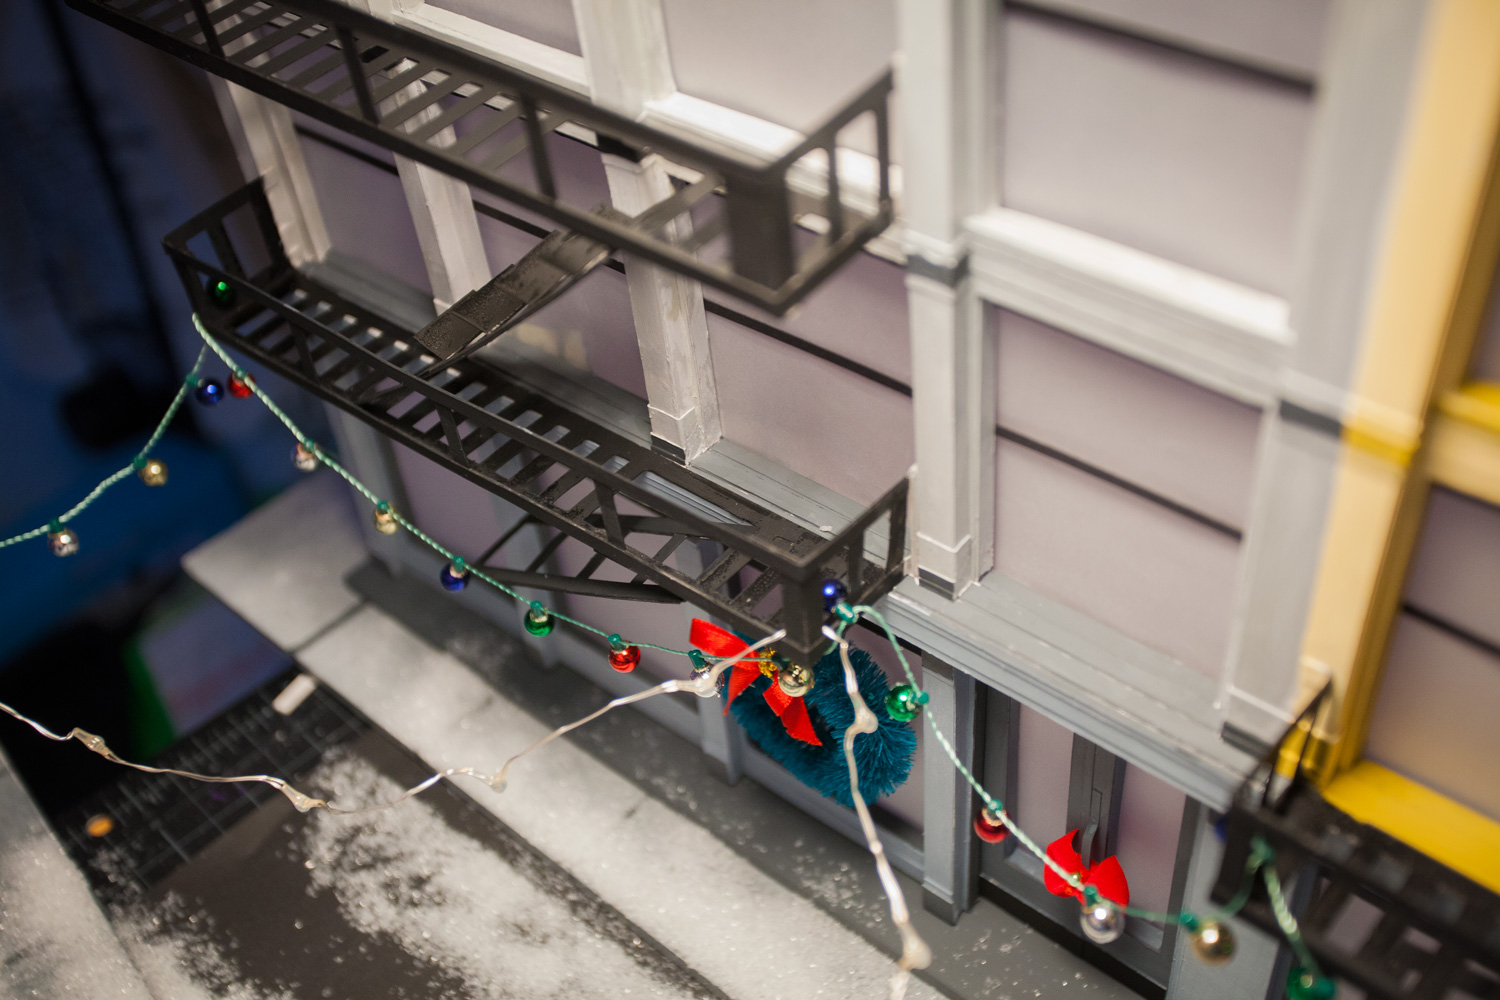
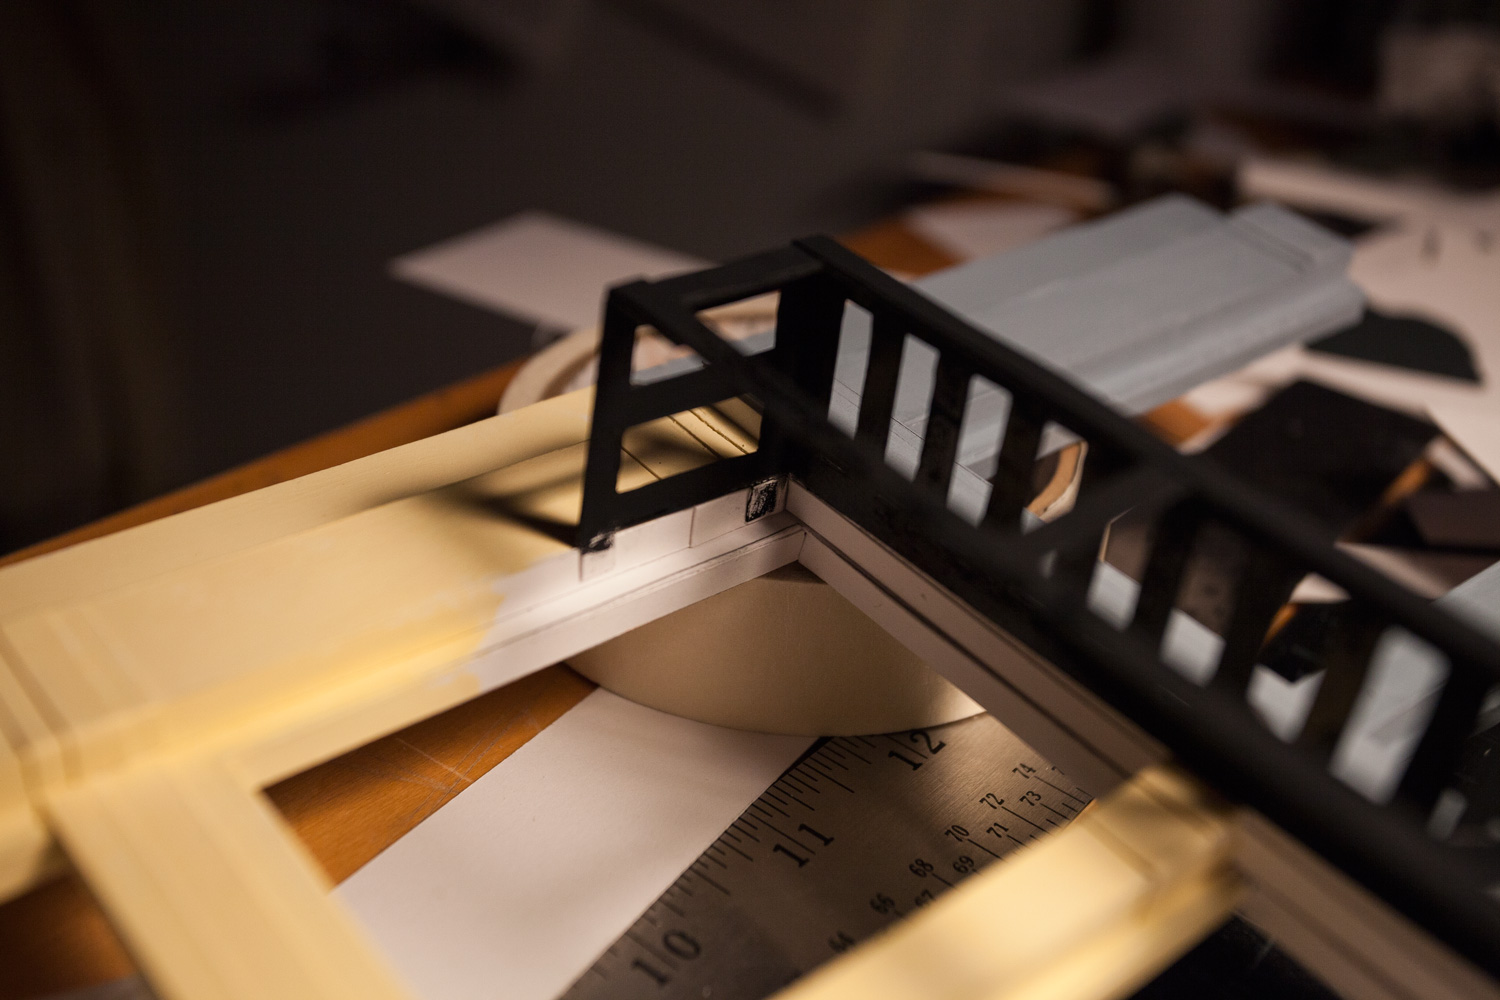 Gotta make sure to finish gluing things before coating everything with paint as the glue won’t stick to the painted surface. Remember the tabs I mentioned earlier? This is how the fire escapes are attached to the buildings, which is actually a pretty strong bond once you glue both sides.
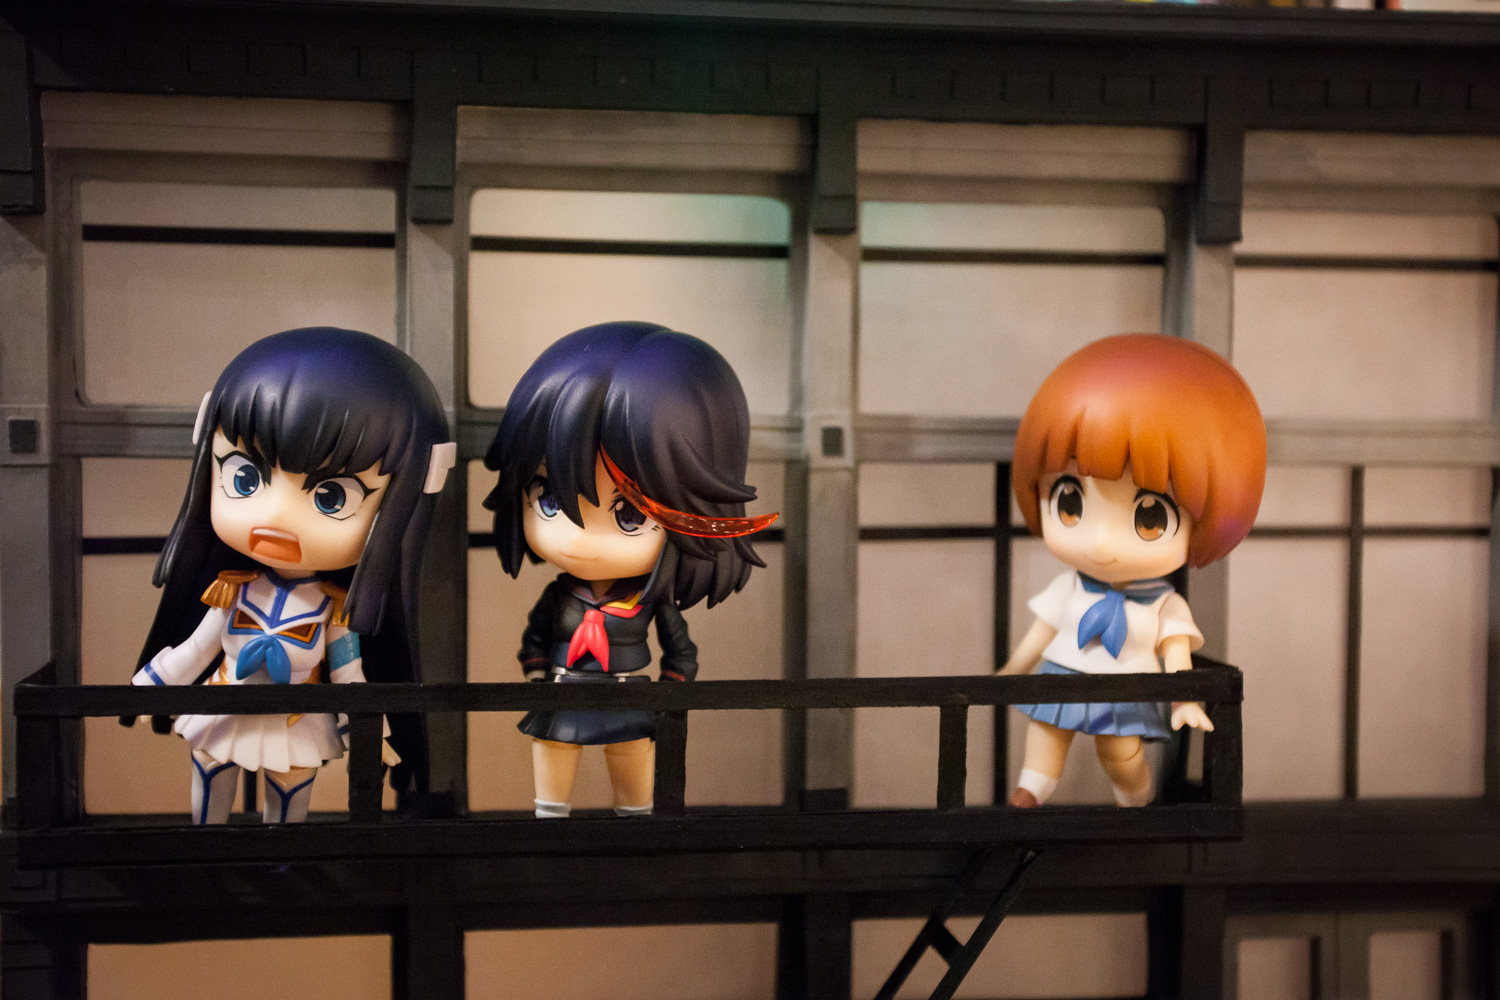 Strong enough to support some nendoroids!
 Almost all of my painting is done freehand (you can tell because the paint job is pretty shoddy in many places) but I hate taking the time to tape things off. Usually you can’t tell in photographs anyway, plus the paint jobs on most city buildings are pretty crummy anyway so I’ll just say it makes it look more authentic ^^;
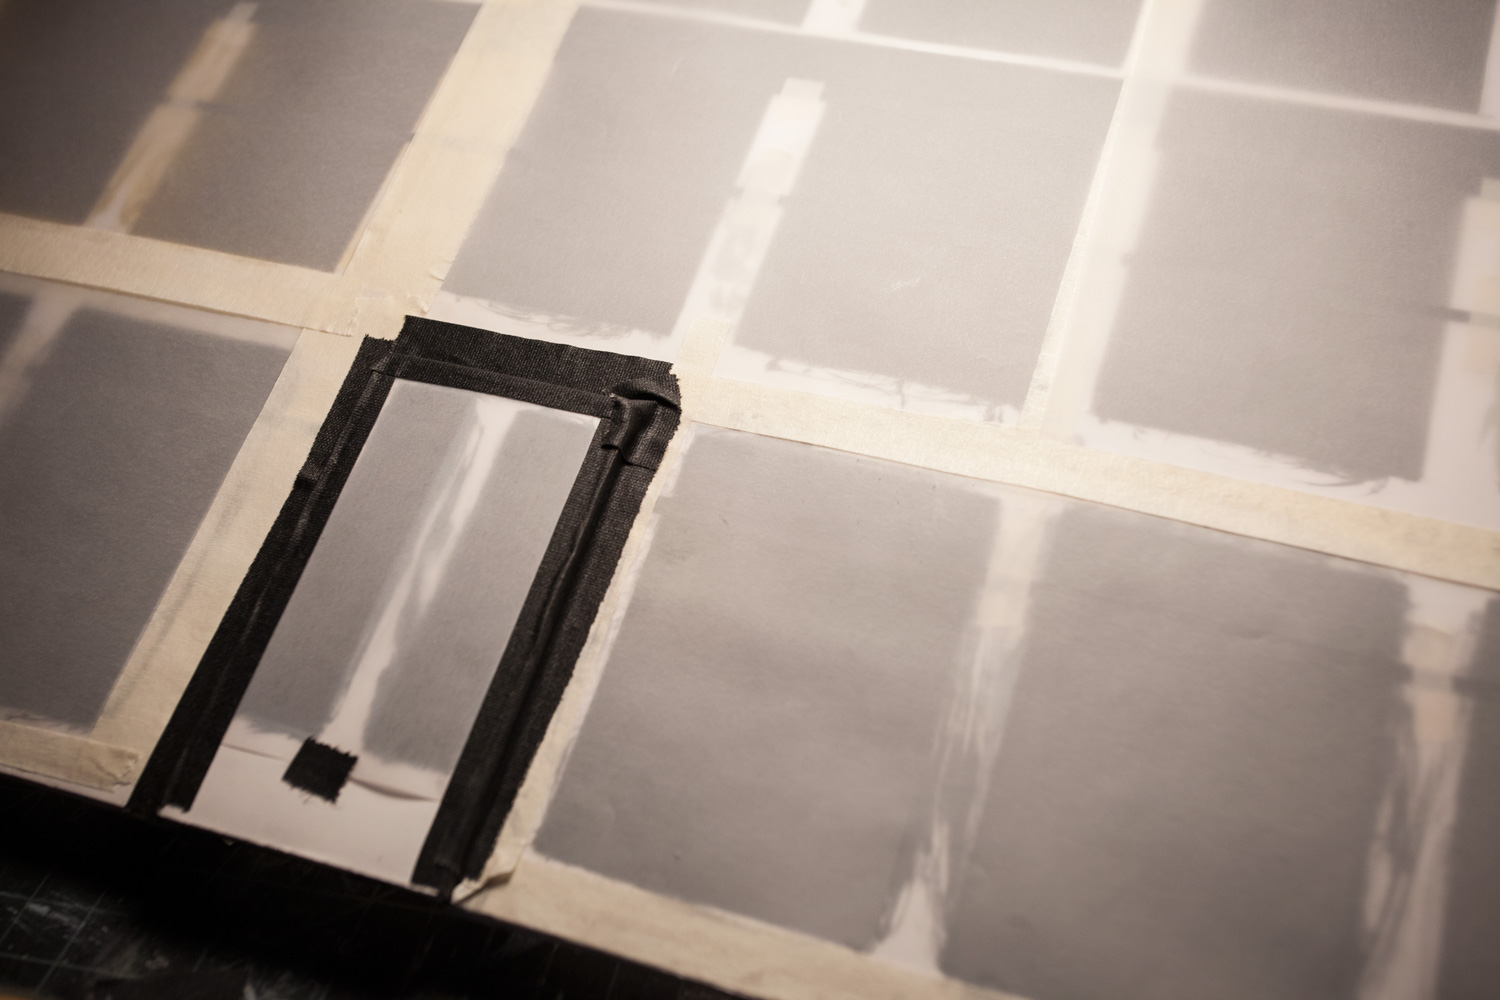
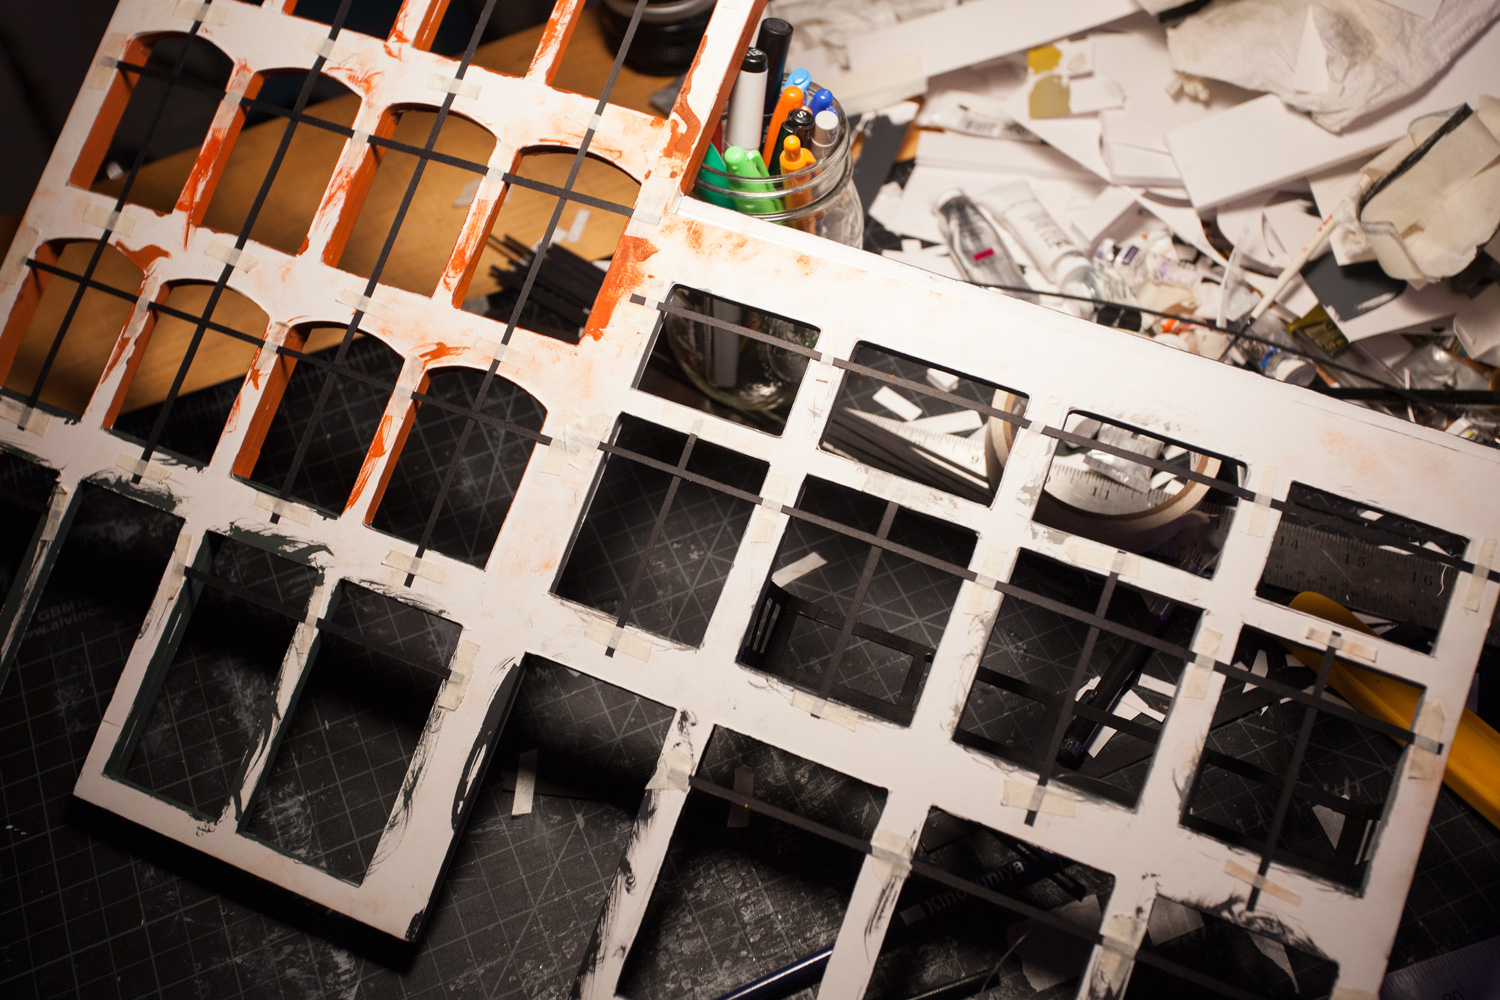 Now on to the backside to add window panes, which are just strips of black paper cut to fit. These are only taped down in case I want to make it look like one of the windows is ‘open’ for one of my shots later on.
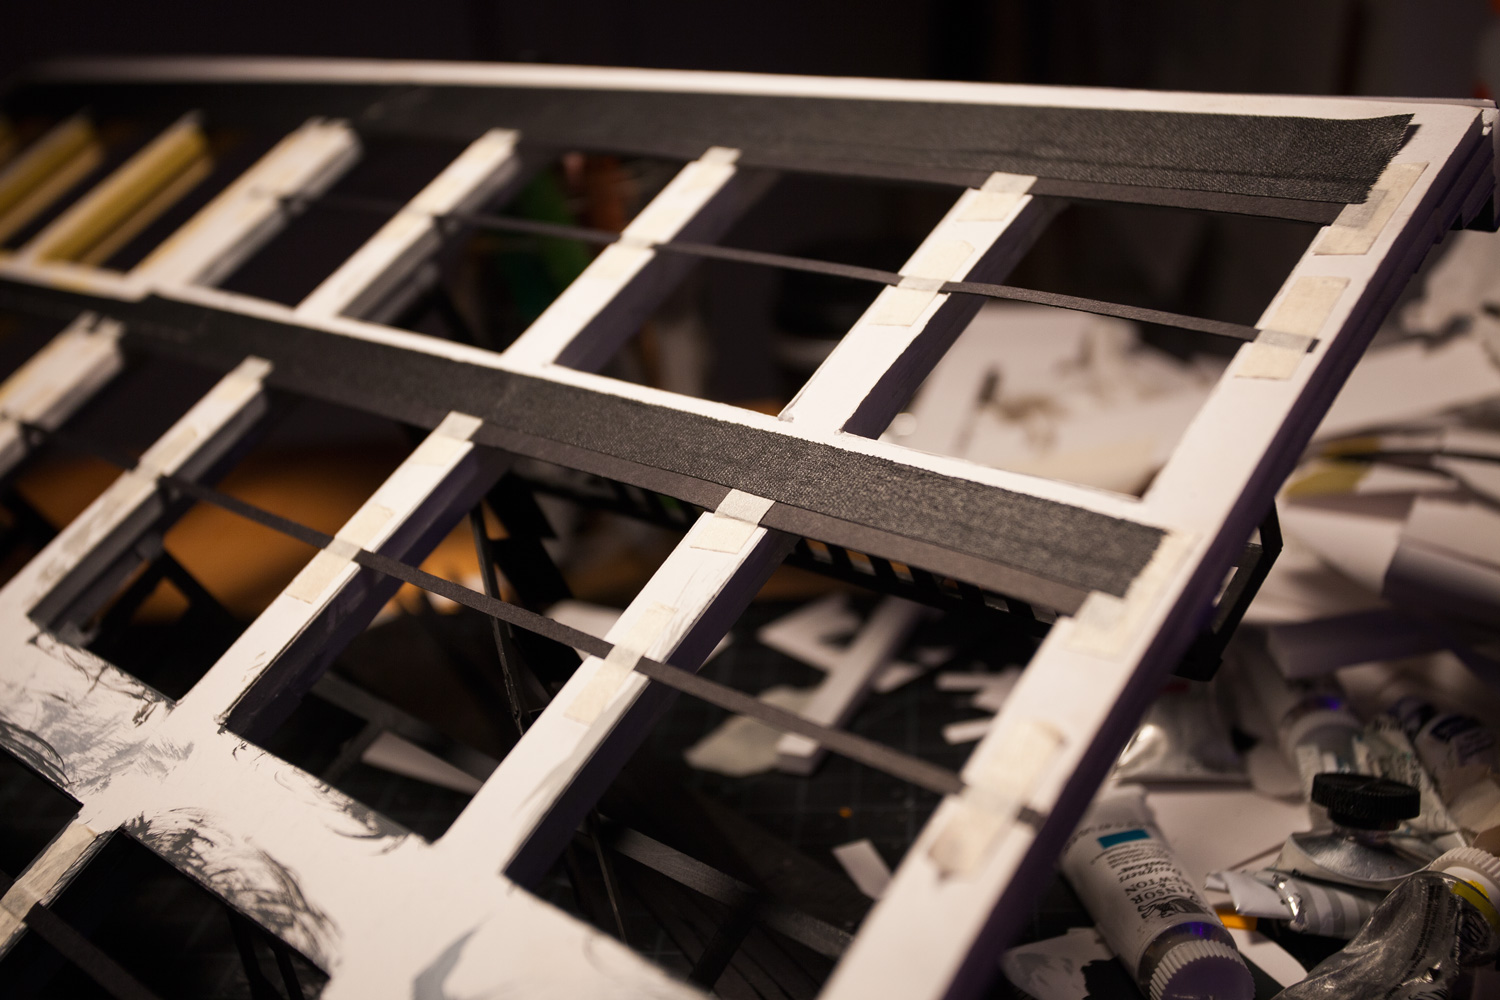 Tops of windows use black gaff tape to prevent light leaks. Otherwise I always use drafting tape as it’s easily removed from paper without tearing off paint or the paper itself.
 Doors are attached with gaff tape as well, then translucent paper is added to the windows to let light through without revealing the behind the scenes.
 Looking more complete!

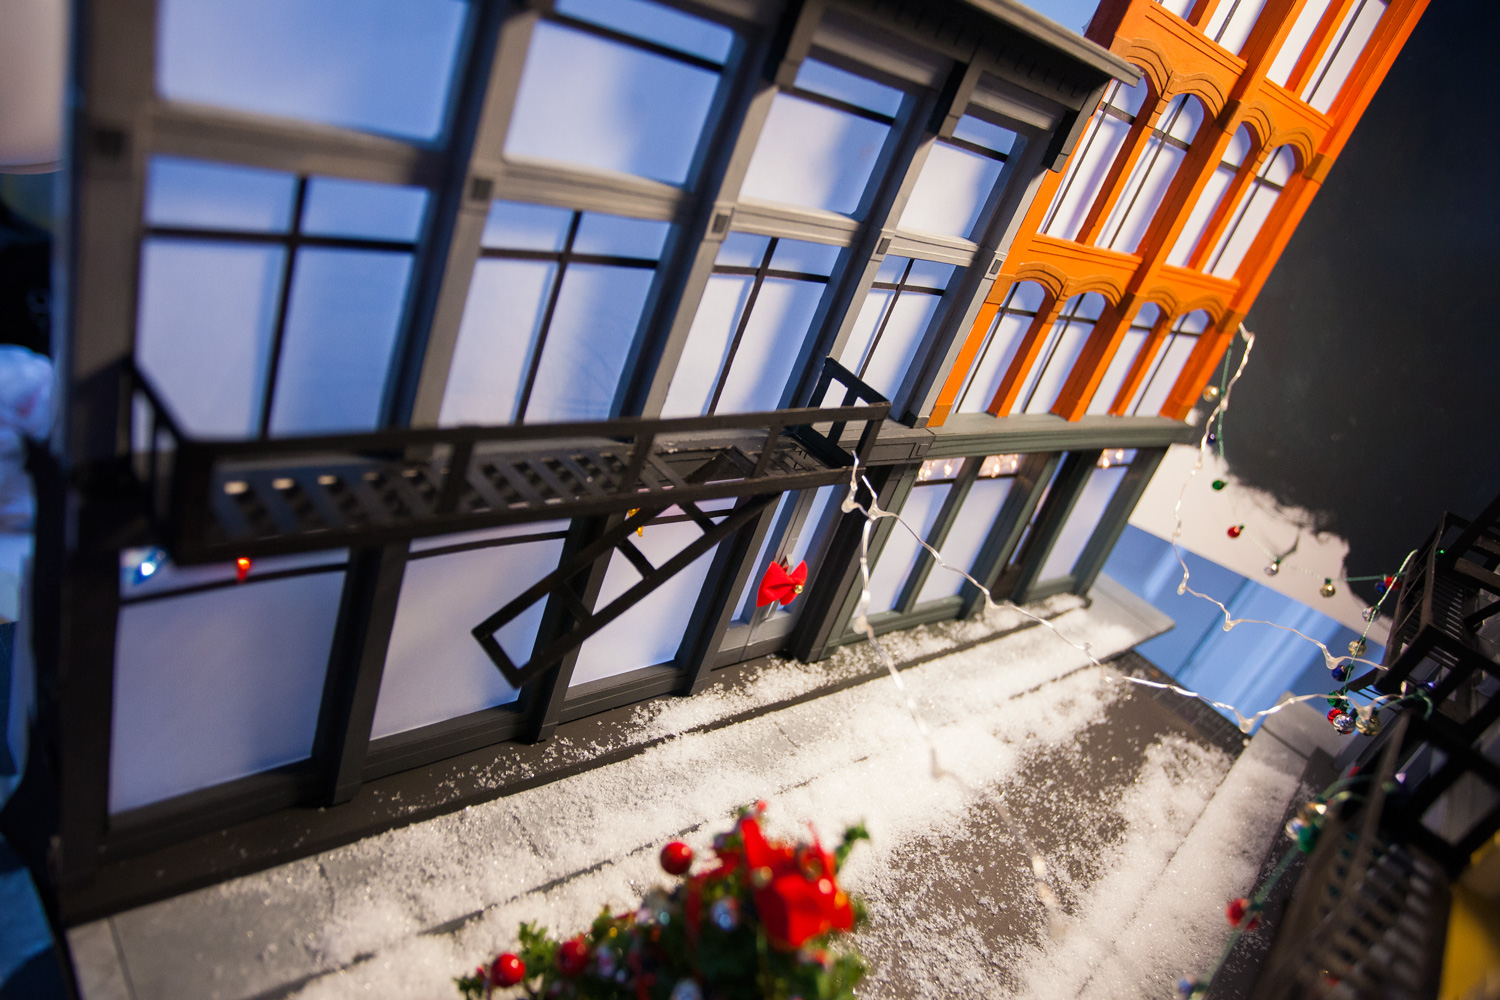
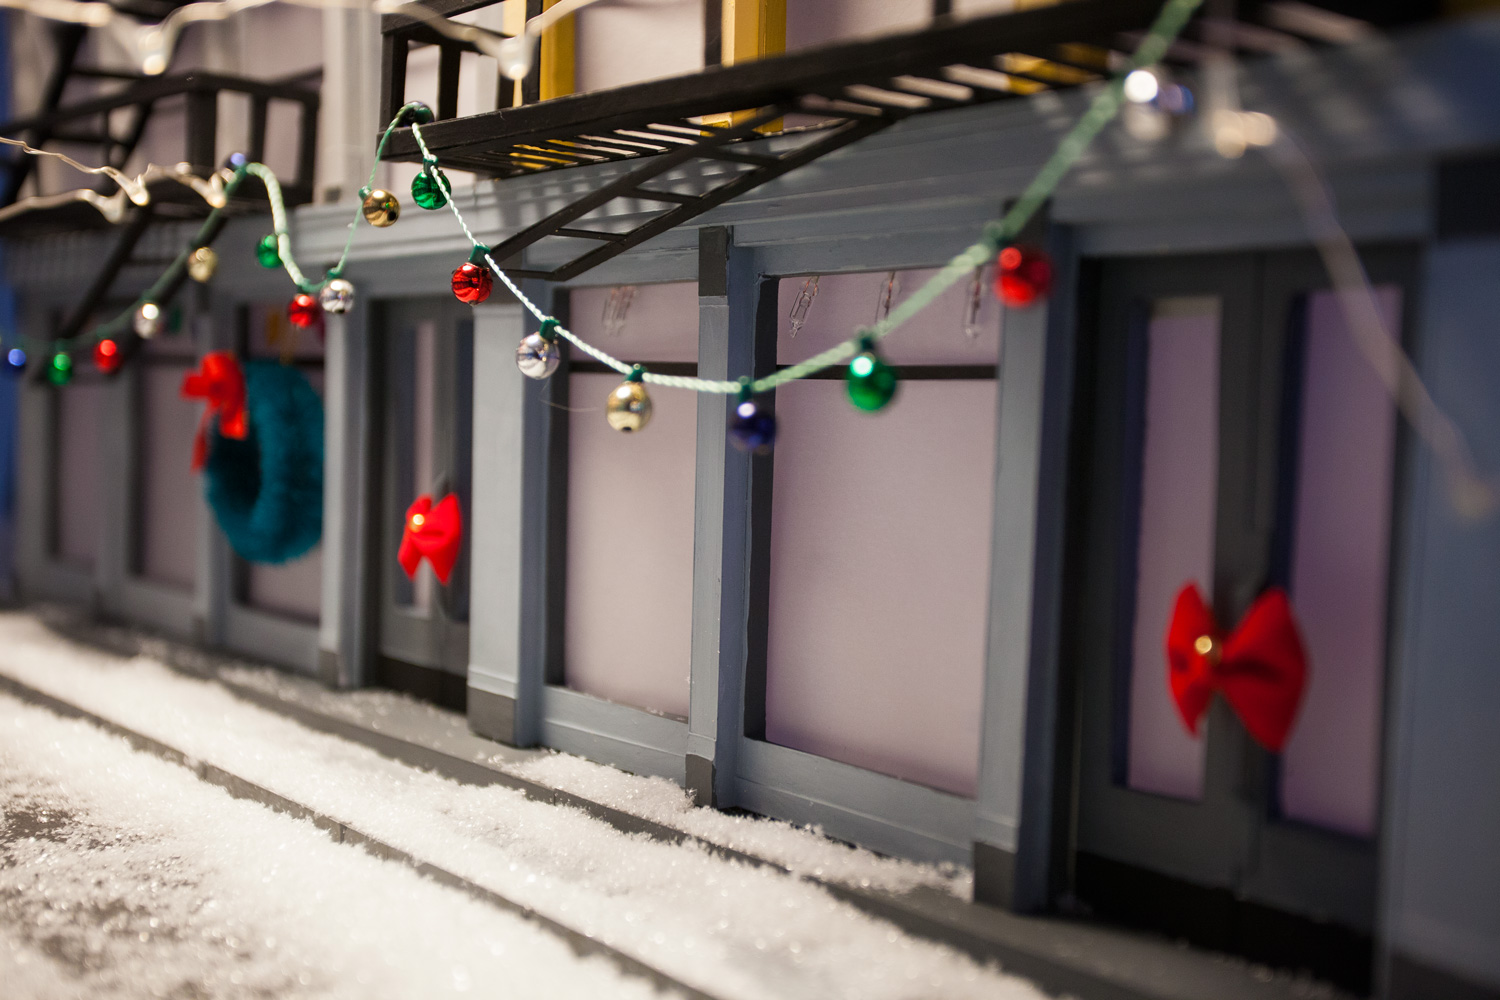
 Time to add some festive Christmas decorations for the photoshoot. LED string lights are hung between fire escapes for some added lighting effects.
Also note to self: NEVER use fake snow for anything again. It’s just like glitter, and it gets literally EVERYWHERE. I’ll be cleaning this stuff up for months I just know it.
 This is what I used for the Christmas lights on the insides of the windows, these small battery power ones worked perfect. Gaff tape helps to hold them in place.
 The night backdrop is something I threw together super quick at like 3am, maybe later on I’ll work on a day backdrop that I can use for other photos.

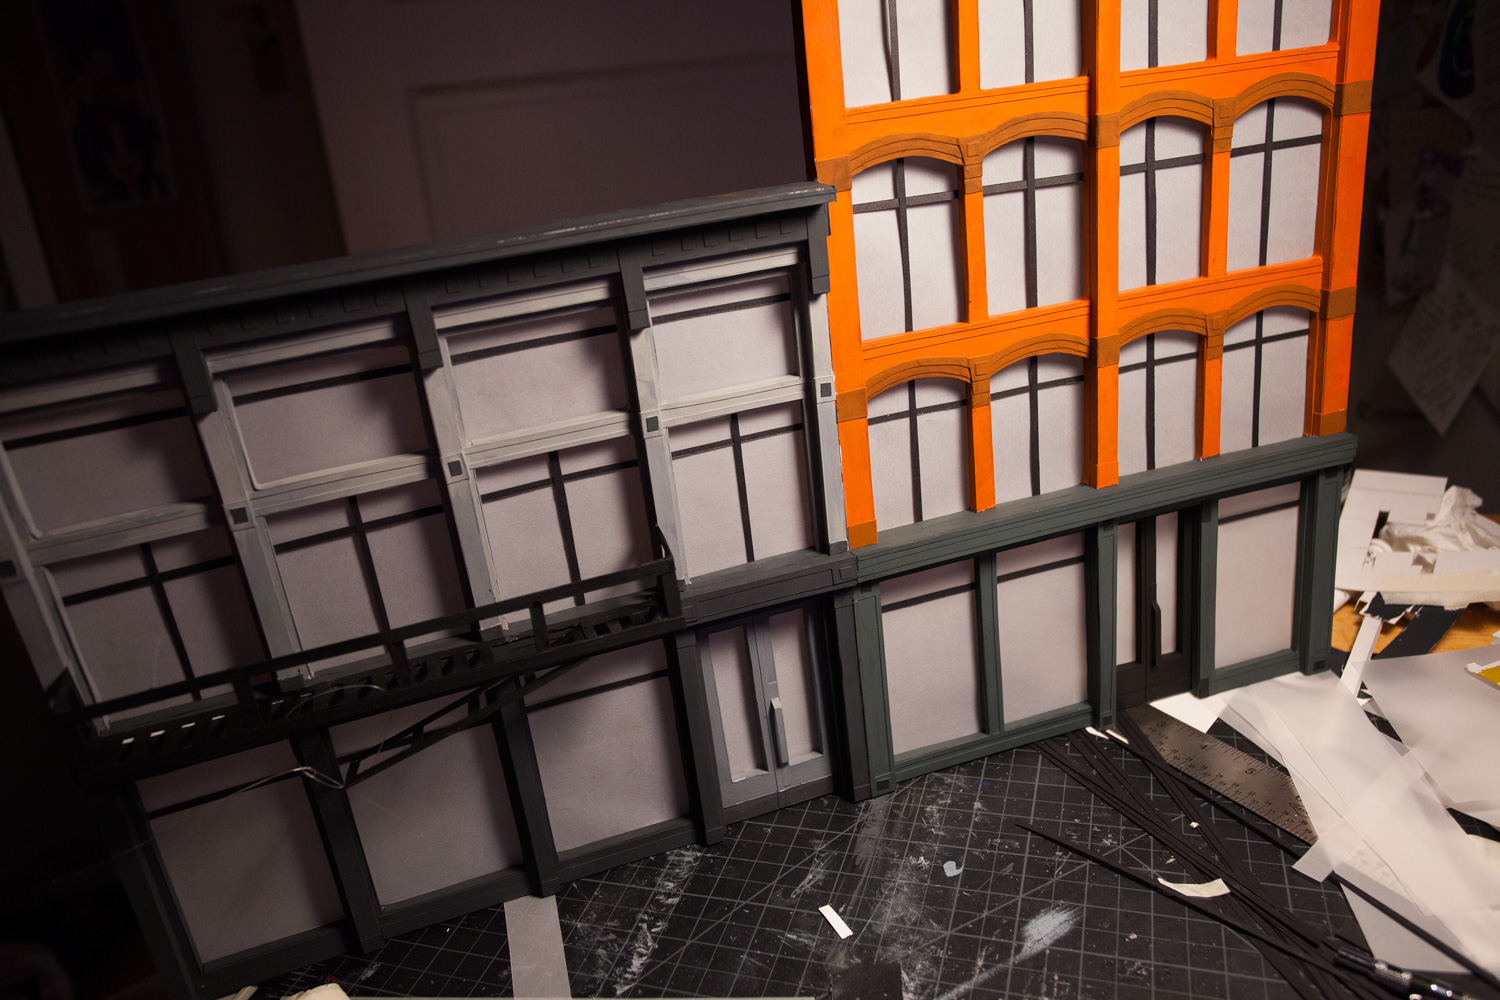
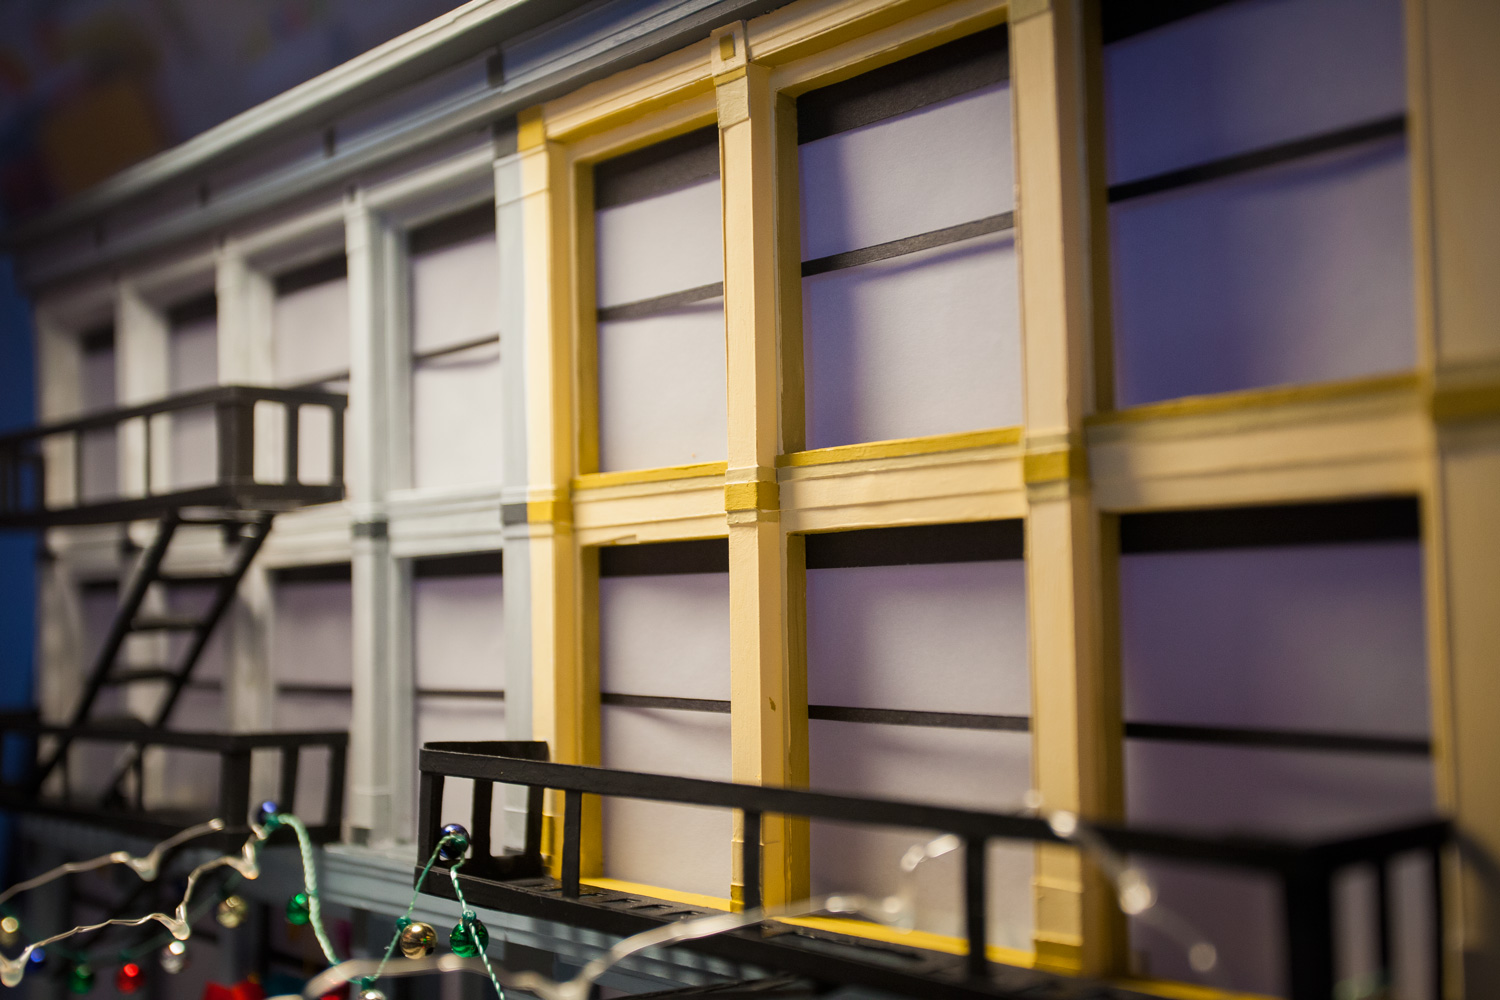
 Having gone to school in downtown Manhattan, I’ve always been in love with some of the older architecture you’d see in places like soho, so I used that particular style to influence my designs. I tried to pull it off best I could without driving myself completely insane (it drove me insane still, but anyway…)
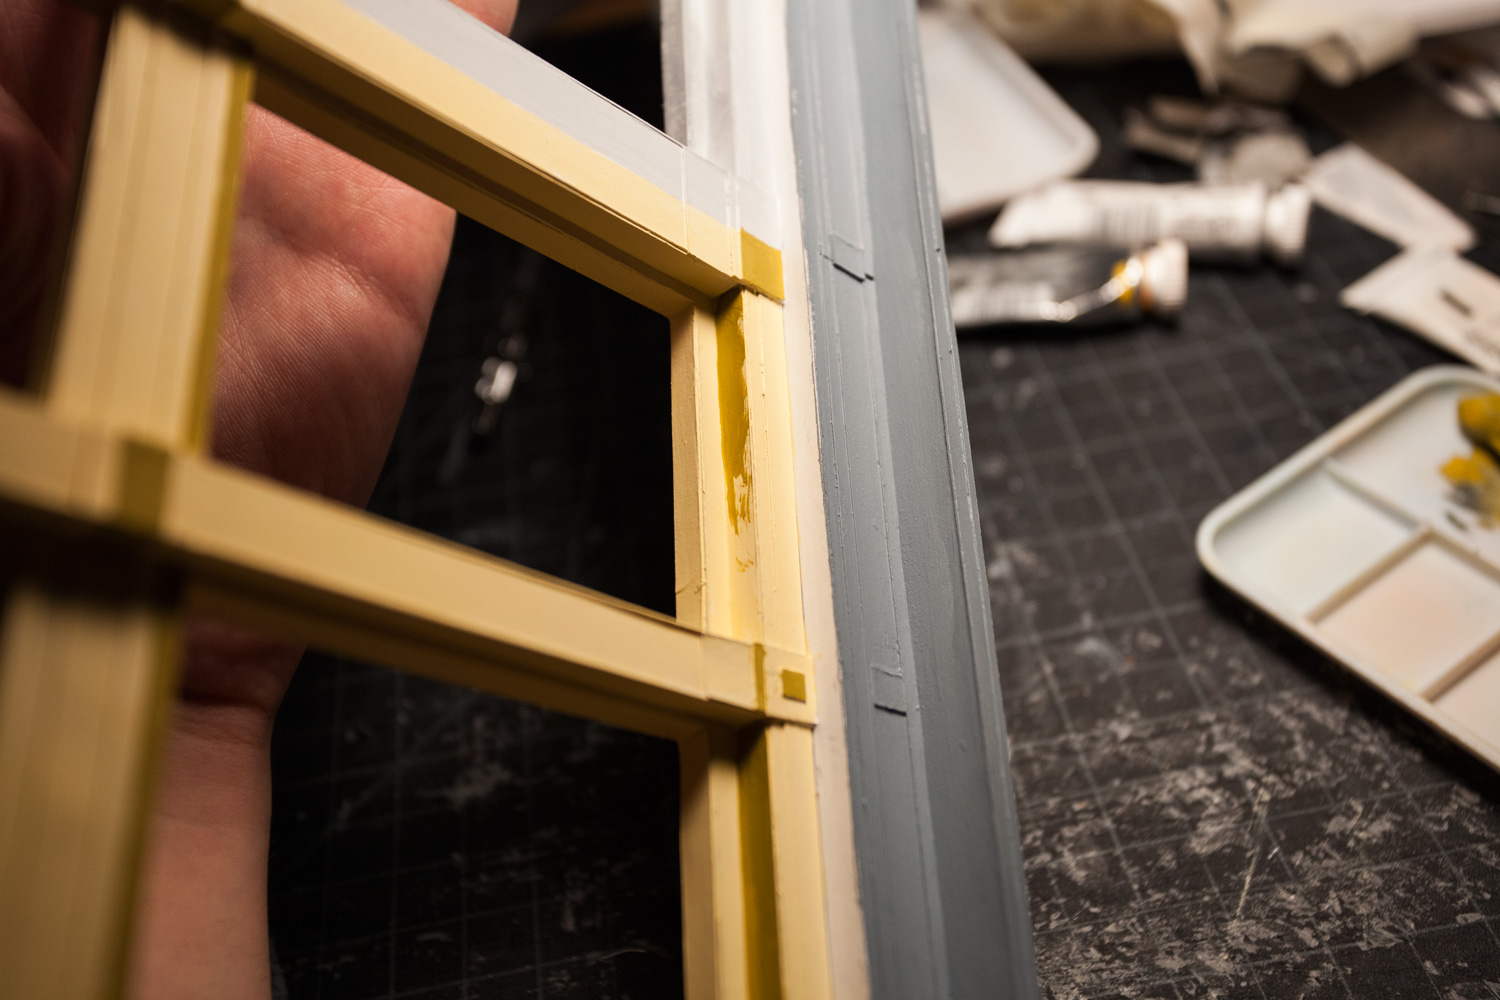
 Matching the gray paint for this one building was such a pain, at one point I just gave up & hoped for the best.
 Painting the trim pieces freehand was a pain as well.
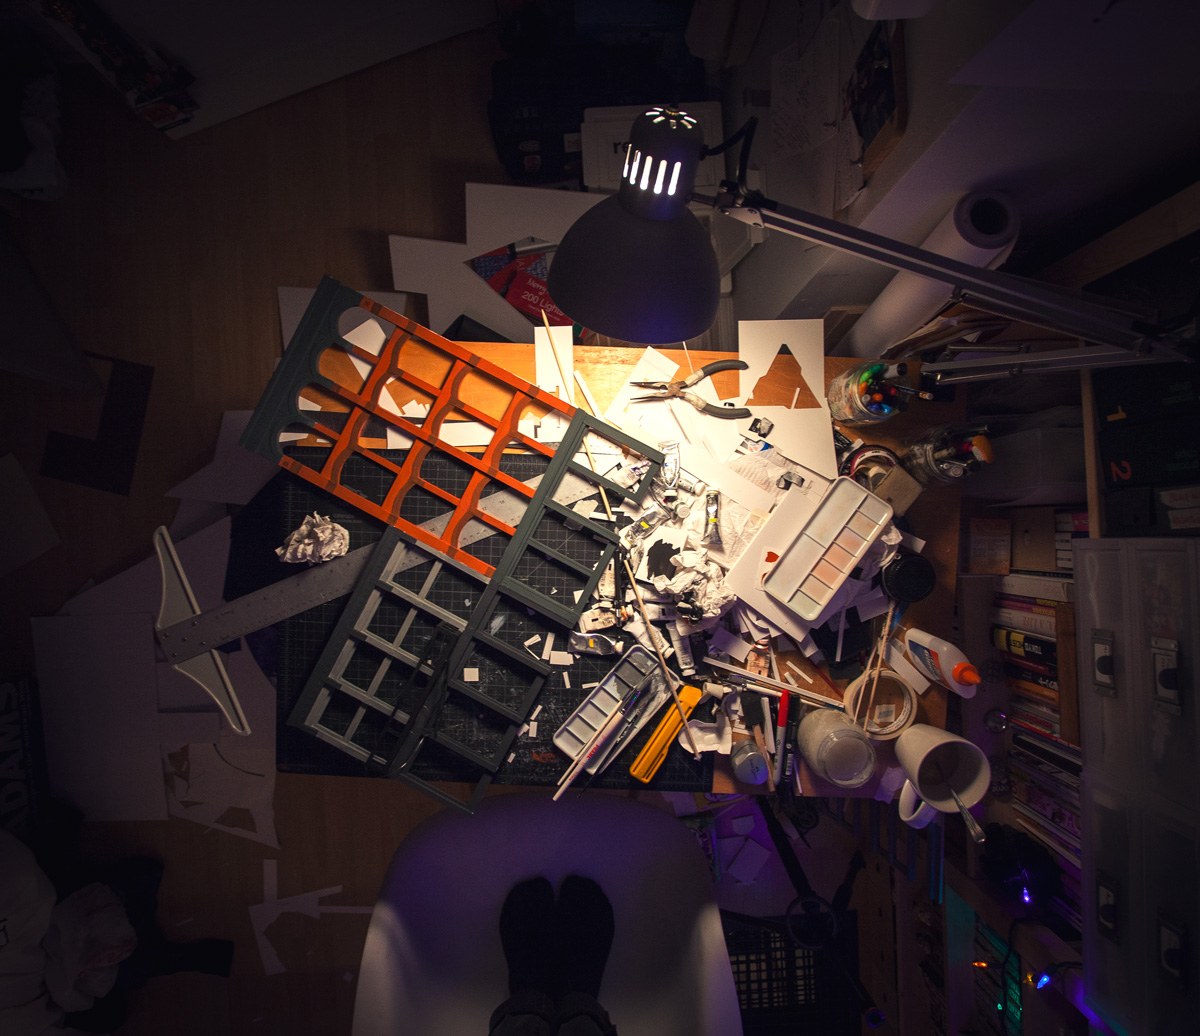
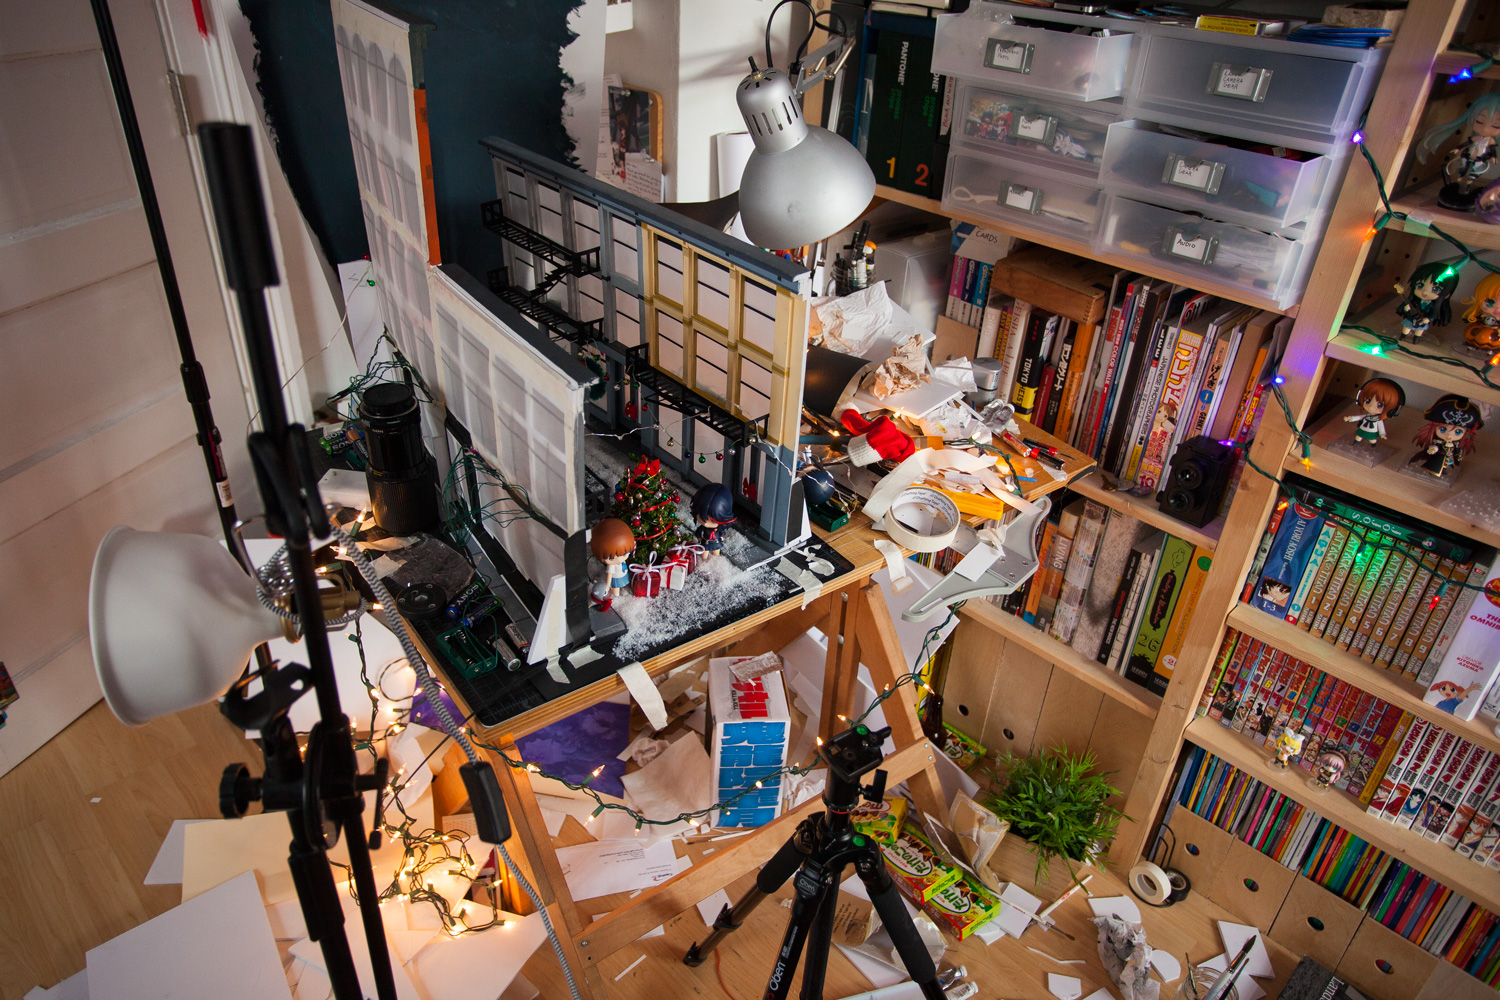 While I consider my self a neat & orderly person, I always get messy when I work. This is how the drafting table looked when I was done with everything.
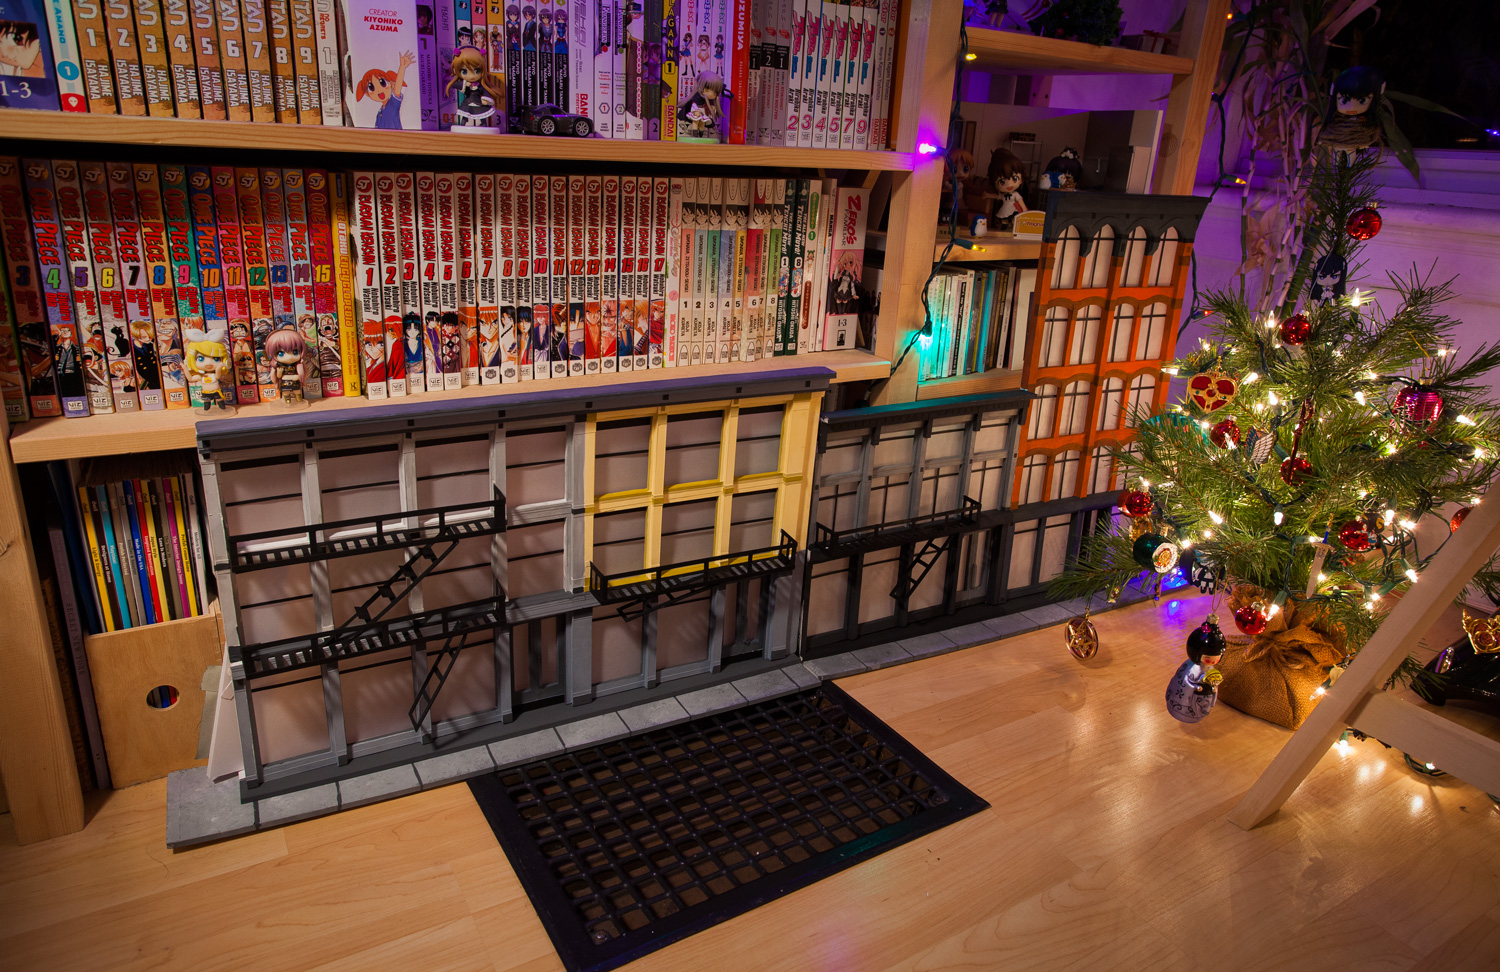 Literally just finished cleaning everything up a few hours ago. I never throw out any of my previous sets (obviously I would never throw this one out since it was basically my life for the past few weeks). Of course I don’t really have room for it at the moment, I’ll have to find a spot other than the floor to keep it haha. If I keep this up I’m gonna need a bigger room!
Hope you enjoyed seeing how I built my diorama! Hope some of you feel inspired to try your own 🙂
Thanks for stopping by!

omg!!! Those are amazing! The work you put into those is just phenomenal and they look fabulous. Can’t wait to see what you do with the set in the future. 😉
Thanks!
Good god, that is definitely a lot of work!
I have had the desire to sit down and build a nice diorama one of these days but I don’t think I have the patience for it, I must applaud your efforts! I’m liking your choice of setting quite a bit, a nice change of pace from the more typical room dioramas.
Haha yeah it was definitely quite an ordeal to go through, but It’s something I enjoy doing so i guess I don’t mind it too much. You should definitely try building some big dioramas! It can be a lot of work but hopefully once you’re done it will have been worth the effort 🙂
Holy crap! That is amazing! I just made my first diorama. It’s BRS themed. By the way, are you entering the nendoroid photo contest?
Thanks!! I haven’t entered the nendoroid photo contest :/ I’ve been thinking about it but I guess I’m too lazy to submit an entry haha
Haha, I get that. I submitted a few okay ones, but I figured I’d just submit the better ones the last day, you know? Then turns out I was thirteen hours late because of the time difference in Japan, lol.
Haha yeah I was thinking about trying to throw something together last minute tonight but then I realized the time difference and that it’s already tomorrow in Japan so that didn’t work out ^^;;
This is incredible! Building your own diorama for your shoots makes the photo even more special or unique, given your a “clean” person as mentioned too should make it look better haha!
seems like you have experience though, it is relative to a course your studying or something?
It looks great !
Thanks Fabrice! I did consider studying Architecture at one point a while back, so I did have a chance to learn some basic techniques for building models. So I guess that kind of helped me out a bit with this project haha.
foam core similar with Styrofoam?
It’s a bit different to work with, definitely less messy than styrofoam. Foamcore is much better if you’re working with something that requires more flat dimensions, where styrofoam is much better if there’s more curvature involved.
actually it’s hard to find foam core in my country.. hahaha
i think, i must find alternative material to replace foam core.
bay the way, you have blueprint for this diorama? abut the size, windows size, etc?
thanks before.
I loved every phase and the final result, this is awesome, your posts are amazing and your photos very pro
Thanks!!